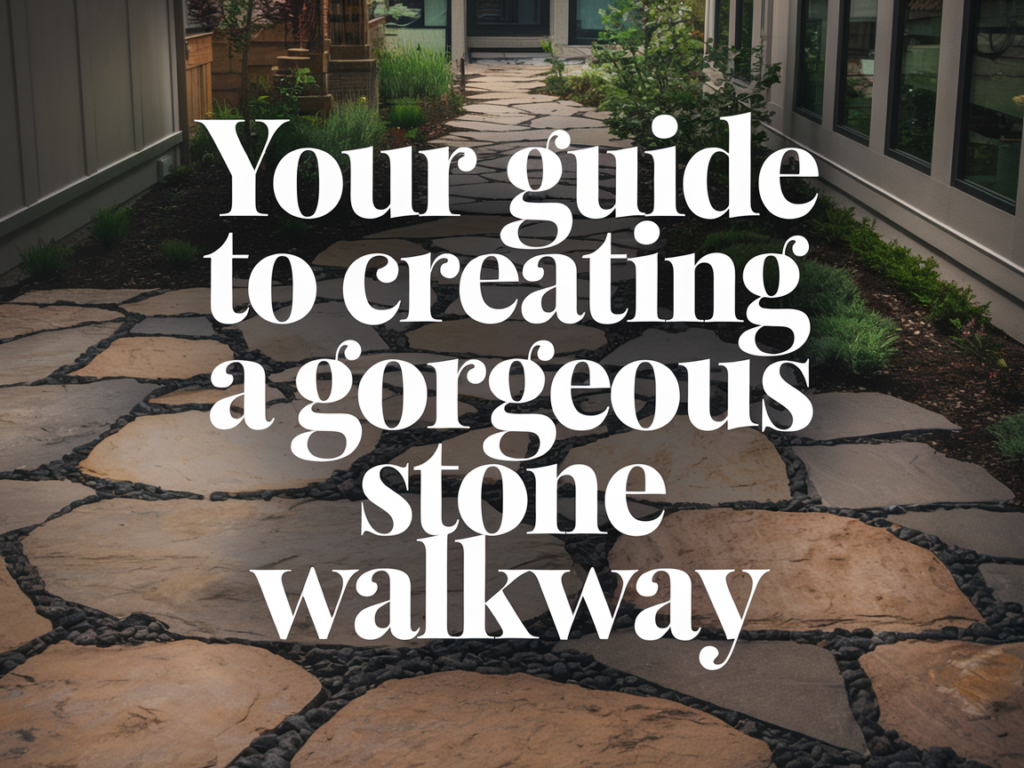
When it comes to enhancing the charm and functionality of your outdoor space, few projects can match the transformative power of a beautiful stone walkway. Picture yourself strolling along a path that weaves through your garden, leading you to a peaceful retreat. The good news? You don’t need to be a professional landscaper to bring this dream to life. In this article, we’ll take you through the DIY process of creating a stunning stone walkway that will leave your guests in awe.

Materials and Tools You’ll Need:
- Stone Pavers: Choose stones that align with your design preferences and budget. Popular options include flagstone, bluestone, and cobblestones.
- Sand or Gravel: This will be used as the base for your walkway.
- Landscape Fabric: To prevent weed growth and ensure long-lasting durability.
- Edging Material: Opt for plastic, metal, or stone edging to create a clean border for your walkway.
- Shovel, Rake, and Wheelbarrow: Essential tools for excavation and moving materials.
- Rubber Mallet: To level and settle the stones.
- Level and Measuring Tape: For precise installation.
- Safety Gear: Gloves and safety glasses for protection.
Step-by-Step Guide:
1. Plan and Design:
- Determine the location and layout of your walkway. Consider factors like the natural flow of foot traffic and the overall aesthetics of your outdoor space.
- Mark the path using stakes and string, creating a visual guide for excavation.
2. Excavation:
- Use a shovel to dig out the area to the desired depth, accounting for the thickness of your stone pavers, sand or gravel base, and any additional layers.
- Ensure a slight slope away from structures to promote water drainage.
3. Base Preparation:
- Fill the excavated area with a layer of sand or gravel. Use a rake to ensure an even distribution and compact the material using a tamper.
4. Install Landscape Fabric:
- Lay landscape fabric over the prepared base to prevent weed growth and maintain the integrity of your walkway.
5. Lay the Stones:
- Begin placing your stone pavers along the designated path, starting from one end and working your way to the other.
- Tap each stone gently with a rubber mallet to ensure they are level and secure in the base.
6. Adjust and Level:
- As you place each stone, use a level to ensure they are even and at the desired height.
- Add or remove sand or gravel underneath the stones to achieve the perfect level.
7. Secure Edging:
- Install the chosen edging material along the sides of the walkway to create a defined border.
- Use spikes or stakes to secure the edging in place.
8. Finishing Touches:
- Fill the gaps between the stones with sand or gravel to stabilize them and prevent shifting.
- Sweep the excess material and hose down the walkway to settle the sand.
9. Admire Your Creation:
- Step back and take in the beauty of your newly created stone walkway. It’s a testament to your DIY skills and the transformative power of well-placed stones.
Maintenance Tips:
- Regularly sweep debris from the walkway to prevent weed growth.
- Reapply sand or gravel to the gaps between the stones as needed to maintain stability.
- Hose down the walkway occasionally to clean and refresh the surface.
Unlock the Beauty Beneath Your Feet: With determination, a bit of elbow grease, and our step-by-step guide, you’re on your way to creating a breathtaking stone walkway that adds character and elegance to your outdoor space. The satisfaction of crafting this DIY masterpiece will be matched only by the joy of walking along your very own stone pathway, surrounded by nature’s beauty and your own creative touch.
As an Amazon Associate we earn from qualifying purchases through some links in our articles.