Are you longing to add a touch of rustic charm to your living space? Look no further! In this DIY guide, we’ll walk you through the step-by-step process of creating a cute wood wall shelf that will not only serve as a functional storage solution but also add a delightful rustic focal point to any wall. With just a few materials, tools, and a pinch of creativity, you can showcase your favorite decor pieces in style. Get ready to embark on this satisfying and rewarding project!
Materials You’ll Need:
- Reclaimed wood boards (size of your choice)
- Brackets (metal or wooden)
- Screws
- Drill
- Level
- Sandpaper (medium grit)
- Wood stain or paint
- Paintbrush
- Measuring tape
- Pencil
- Safety goggles and gloves
Step 1: Planning and Measuring Start by determining the desired size and design of your wood shelf. Consider the available space and what you plan to display on the shelf. Measure and mark the wall where you intend to install the shelf, ensuring it is level and centered.
Step 2: Preparing the Wood Take the reclaimed wood boards and inspect them for any rough areas or splinters. Use sandpaper to smooth the surface, focusing on the edges for a rustic touch. Wipe away any dust or debris.
Step 3: Adding Finishing Touches Decide on the finish you’d like for your wood shelf. You can embrace the natural beauty of the wood by applying a clear varnish or choose a wood stain or paint to match your decor. Apply the finish evenly using a paintbrush and let it dry according to the product instructions.
Step 4: Installing the Shelf Using a drill and screws, attach the brackets to the underside of the wood shelf, ensuring they are evenly spaced and aligned with the marks on the wall. Next, hold the shelf against the wall and use a drill to secure it in place, driving screws through the brackets into the wall. Use a level to ensure the shelf is straight and adjust as needed.
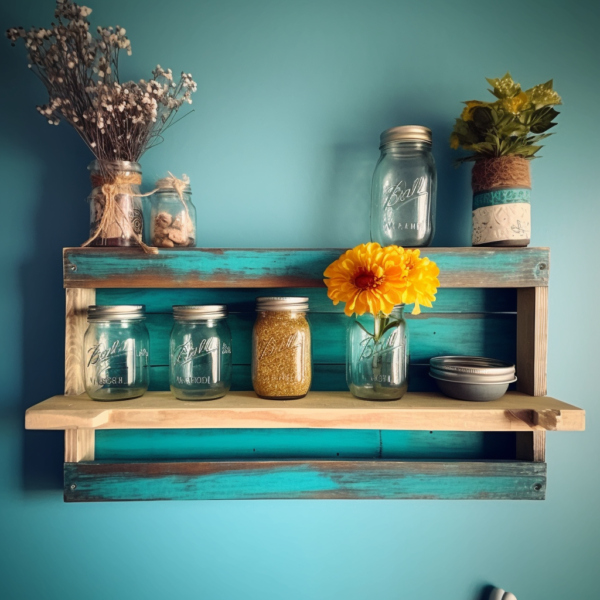
Step 5: Styling Your Shelf Once the shelf is securely installed, it’s time to showcase your favorite decor pieces. Arrange books, small plants, picture frames, or other cherished items on the shelf to create a visually appealing display. Get creative and personalize it to reflect your unique style and personality.
Step 6: Maintenance and Care To keep your wood shelf looking its best, regularly dust it with a soft cloth or microfiber duster. Avoid excessive moisture and direct sunlight, as they can damage the wood. If needed, reapply protective finishes periodically to preserve the shelf’s beauty and longevity.
Congratulations! You’ve successfully created a cute rustic wood shelf that adds charm and functionality to your living space. By following this DIY guide, you’ve demonstrated your craftsmanship and created a beautiful focal point for displaying your favorite decor items. Enjoy the satisfaction of your handmade masterpiece and relish the cozy ambiance it brings to your home. Get ready to receive compliments from family and friends on your impressive DIY skills!
As an Amazon Associate we earn from qualifying purchases through some links in our articles.