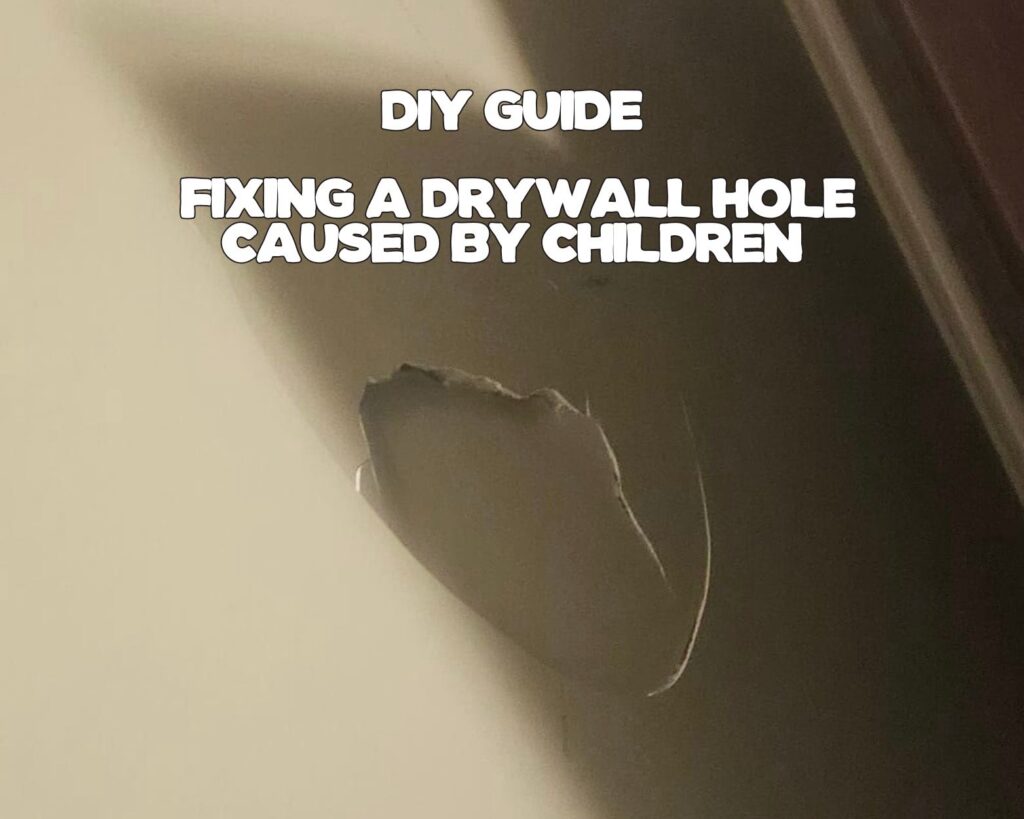
Accidents happen, especially with children around. If you’re facing a 12” wide and 6” tall circular hole in your drywall, don’t worry – it’s a fixable issue. Here’s how you can repair it yourself, even if you’re new to drywall work.

Tools and Materials You’ll Need
- IRWIN Tools ProTouch Drywall/Jab Saw (2014100): Ideal for cutting out the damaged drywall area.
- WORKPRO 4-Piece Putty Knife Set: These stainless steel knives are perfect for applying and smoothing joint compound.
- New piece of drywall
- Drywall tape
- Joint compound
- Sandpaper
- Paint and primer
Step-by-Step Repair Process
Step 1: Cut Out the Damaged Area
Use the IRWIN Drywall Saw to cut out the damaged area. Aim for a rectangular shape for easier repair.
Step 2: Prepare a Drywall Patch
Cut a piece of new drywall slightly larger than the hole. Trim it down so it fits snugly into the cutout area.
Step 3: Secure the Patch
Place a piece of wood inside the wall as backing and screw it into place. Attach the drywall patch to this backing.
Step 4: Apply Drywall Tape
Cover the seams with drywall tape to prevent future cracks.
Step 5: Apply Joint Compound
Use the WORKPRO Putty Knives to apply joint compound over the patch and tape. Let it dry completely, then apply a second coat if necessary.
Step 6: Sand the Area
Once dry, sand the area until smooth.
Step 7: Prime and Paint
Prime the repaired area, then paint to match the rest of the wall.
Repairing a large hole in drywall, especially one caused by children’s play, can be a straightforward process if you follow these steps carefully. Here’s how to continue after securing the patch and applying the joint compound.
If needed… Step 8: Apply a Second Layer of Joint Compound
After the first layer of joint compound dries, apply a second layer. This helps to create a smooth, even surface. Use the WORKPRO Putty Knives for precision and ease.
Step 9: Sand the Area Again
Once the second layer of joint compound is dry, sand the area again. Your goal is to make the surface as smooth as possible, with no visible edges or bumps.
Step 10: Clean the Area
Before painting, ensure that the area is free of dust. Wipe it down with a damp cloth to remove any residual dust from sanding.
Step 11: Prime the Patch
Apply a coat of primer over the patched area. This will help the paint adhere better and provide a more uniform finish.
Step 12: Paint the Repaired Area
Finally, paint over the primed area with a color that matches the rest of your wall. You might need to apply a couple of coats to get the right coverage and color match.
Tips for a Perfect Finish
- Feather the Edges: When applying joint compound, feather the edges to blend the patch into the existing wall.
- Take Your Time with Sanding: The smoother the surface after sanding, the better the final painted wall will look.
- Test the Paint Match: If you’re unsure about the paint match, test it on a small area first before applying it to the entire patched area.
Can Beginners Tackle This Project?
Yes, even if you’re new to DIY projects, you can successfully repair a large hole in drywall. The key is to take your time, follow the steps carefully, and not rush the process. With patience and attention to detail, you can achieve a repair that’s almost indistinguishable from the rest of the wall.
Conclusion
Repairing a large hole in drywall is a satisfying DIY project that can save you money and improve the look of your home. With the right tools, like the IRWIN Drywall Saw and WORKPRO Putty Knives, and a step-by-step approach, you can effectively fix the damage and restore your wall to its original condition. Remember, DIY home repairs are not only about fixing things but also about the satisfaction and pride that come with accomplishing something with your own hands.
Tips for a Successful Repair
- Be Patient: Take your time with each step for a smooth finish.
- Safety First: Wear protective gear when cutting and sanding.
- Match the Paint: Ensure the paint matches the existing wall color.
Can You Do It Yourself?
Yes, repairing drywall is a manageable DIY task. With the right tools like the IRWIN Drywall Saw and WORKPRO Putty Knives, and a bit of research, you can effectively fix the hole in your wall.
Fixing a hole in drywall is a common home repair task that you can handle yourself. With the right approach and tools, you can restore your wall, making the damage just a memory. Remember, DIY home repairs are not only about fixing things but also about the satisfaction of accomplishing something with your own hands.
For additional DIY tips and home improvement ideas, you can explore articles on DIY Home Wizard. Here are a few articles that might be useful:
- DIY Guide: How to Clean Your Dryer Vent Effectively: This guide provides valuable insights into maintaining your appliances, an essential aspect of home care.
- Building a Sliding Frame for Tote Organization in Your Garage: If you’re looking for an efficient and accessible system to organize your garage, this article offers a great DIY solution.
- DIY Home Improvement: Simplify with Visual Light Switch Stickers: Discover small, impactful DIY enhancements for your home, like using visual light switch stickers for added convenience.
These articles provide practical advice and creative ideas for various DIY projects, helping you enhance and maintain your home effectively. Visit DIY Home Wizard for more DIY home improvement tips and guides.
Common Questions and Answers on Drywall Repair
Q: Can I fix a large drywall hole myself? A: Absolutely! With the right tools, such as a drywall saw and putty knives, and a bit of patience, you can effectively repair a large hole in drywall. The process involves cutting out the damaged area, preparing a patch, and applying joint compound and paint.
Q: What’s the best way to ensure the patch blends with the existing wall? A: To ensure your patch blends seamlessly, sand the area thoroughly after the joint compound dries. Then, apply primer and paint that matches your wall’s color. This will help the repaired area blend in with the rest of the wall.
Q: Are there any special considerations for larger holes in drywall? A: For larger holes, it’s important to provide adequate support for the patch. This typically involves placing a piece of wood or a drywall patch panel behind the hole and securing the new drywall piece to it. Ensuring the patch is well-supported will prevent it from sagging or cracking over time.
As an Amazon Associate we earn from qualifying purchases through some links in our articles.


