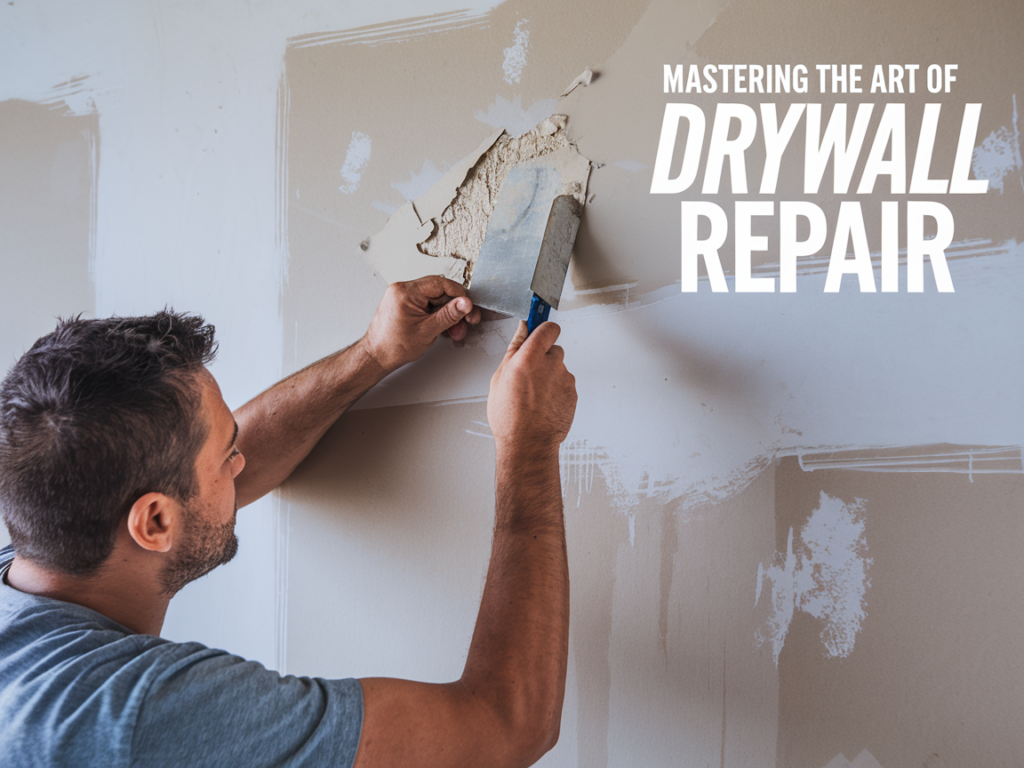
Drywall is a fundamental element in any home, providing a smooth and finished surface for walls and ceilings. However, accidents happen, and over time, your drywall may develop cracks, holes, or other imperfections. In this article, we’ll delve into the world of drywall repair, focusing on a specific niche: repairing drywall dents and dings. Whether caused by furniture bumps, accidental impacts, or everyday wear and tear, we’ll provide you with the DIY tips and techniques you need to achieve flawless walls and restore the beauty of your home.
- Identifying the Damage:
The first step in drywall repair is identifying the type and extent of the damage. We’ll help you distinguish between dents, dings, and other common issues, allowing you to accurately assess the repair needed. Understanding the nature of the damage will guide your approach to achieving seamless repairs.
- Preparing the Surface:
Proper preparation is crucial for successful drywall repair. We’ll walk you through the necessary steps, such as cleaning the damaged area, removing loose debris, and creating a smooth surface for repair. Additionally, we’ll discuss the importance of safety measures, including wearing protective gear and ensuring proper ventilation.
- Choosing the Right Materials:
Selecting the right materials is essential for achieving professional-looking results. We’ll guide you through the various options for patching compounds, fillers, and sandpapers, helping you choose the best products for your specific repair needs. Understanding the characteristics and application techniques of different materials will make your DIY repairs more efficient and effective.
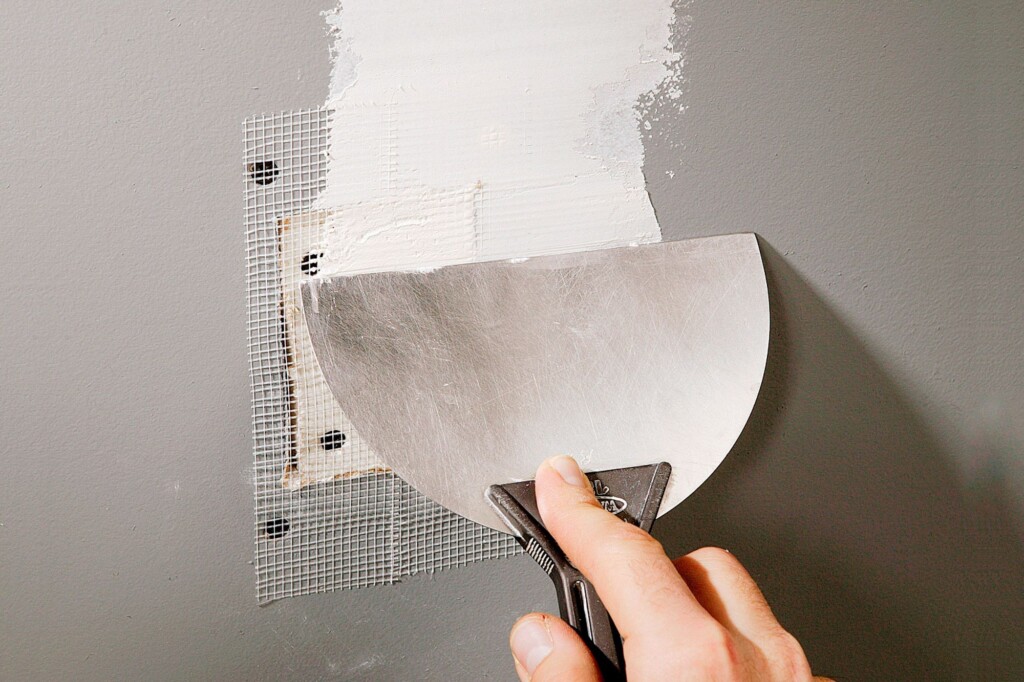
- Applying the Patch:
Mastering the art of applying the patch is a key skill in drywall repair. We’ll provide you with step-by-step instructions on how to apply the patching compound, feather the edges, and create a seamless blend with the surrounding wall. From small dents to larger dings, you’ll learn techniques to achieve invisible repairs.
- Sanding and Finishing:
Achieving a smooth and polished finish is the final step in drywall repair. We’ll discuss the importance of sanding and guide you through the proper techniques to ensure a seamless transition between the repaired area and the rest of the wall. Additionally, we’ll explore finishing options, such as priming and painting, to bring the repaired area in line with the overall aesthetics of the space.
- Preventing Future Damage:
Once you’ve mastered drywall repair, it’s essential to take steps to prevent future damage. We’ll share tips on furniture placement, wall protection, and general maintenance practices that will help keep your walls in pristine condition for years to come.
Conclusion:
By diving into the world of drywall repair, specifically focusing on dents and dings, you can take your DIY home repair skills to the next level. Armed with the knowledge and techniques shared in this article, you’ll be able to confidently tackle drywall imperfections and achieve flawless walls in your home. Remember, practice makes perfect, so don’t be afraid to experiment and refine your skills over time. With patience, attention to detail, and a bit of creativity, you’ll become a master of drywall repair and enjoy the satisfaction of maintaining a beautiful home.
As an Amazon Associate we earn from qualifying purchases through some links in our articles.