Zipper bedding has become increasingly popular in recent years, and it’s easy to see why. This innovative bedding solution not only makes making the bed a breeze, but it also keeps everything in place, no matter how much you toss and turn. If you’re interested in creating your own DIY zipper bedding, you’ve come to the right place. This comprehensive guide will walk you through the process step by step.
UNDERSTANDING ZIPPER BEDDING
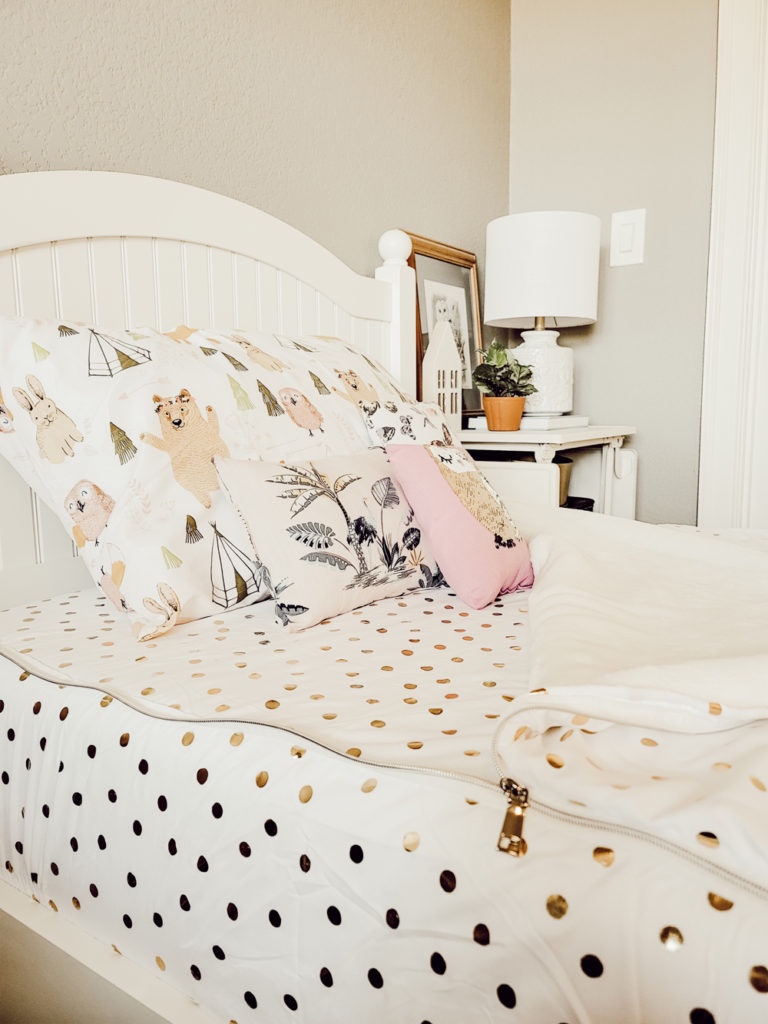
Before we dive into the DIY process, let’s first understand what zipper bedding is. Zipper bedding is a type of bedding that uses zippers to attach the top sheet to the duvet cover or comforter. This design allows you to easily make your bed by simply zipping up the sides. It also keeps the bedding in place, preventing the top sheet or comforter from slipping off during the night.
MATERIALS YOU’LL NEED
To create your own DIY zipper bedding, you’ll need the following materials:
- A duvet cover or comforter
- A top sheet
- A sewing machine
- Thread that matches your bedding
- A zipper (the length should be the same as the length of your bed)
- Pins
- Scissors
- A seam ripper (optional)
STEP-BY-STEP GUIDE TO CREATING DIY ZIPPER BEDDING
STEP 1: PREPARATION
Before you start sewing, you’ll need to prepare your materials. First, wash, dry, and iron your duvet cover and top sheet. This will ensure that they’re clean and wrinkle-free, making them easier to work with. Next, lay your duvet cover or comforter flat on a large surface, such as a table or the floor. Place the top sheet on top of the duvet cover, aligning the edges.
STEP 2: PINNING THE ZIPPER
Take your zipper and place it along the edge of the duvet cover and top sheet, with the zipper pull facing down. The top of the zipper should align with the top edge of the bedding. Use pins to secure the zipper in place.
STEP 3: SEWING THE ZIPPER
Once the zipper is pinned in place, it’s time to start sewing. Using your sewing machine, sew along the edge of the zipper, removing the pins as you go. Be sure to backstitch at the beginning and end to secure the stitches. Repeat this process on the other side of the zipper.
STEP 4: ATTACHING THE TOP SHEET
After the zipper is securely sewn onto the duvet cover, it’s time to attach the top sheet. Align the edge of the top sheet with the edge of the duvet cover. Pin the top sheet to the zipper, then sew along the edge, just as you did with the duvet cover. Repeat this process on the other side of the top sheet.
STEP 5: FINISHING TOUCHES
Once the top sheet is attached, your DIY zipper bedding is almost complete. All that’s left to do is to add some finishing touches. Use your scissors to trim any excess thread, and use a seam ripper to remove any unwanted stitches.
Creating your own DIY zipper bedding is a fun and rewarding project. Not only does it allow you to customize your bedding to your liking, but it also provides a practical solution to the age-old problem of messy, unmade beds. With your new zipper bedding, making your bed will be as easy as zipping up a zipper, and you’ll never have to worry about your top sheet or comforter slipping off again. So why not give it a try? Happy DIY-ing!
As an Amazon Associate we earn from qualifying purchases through some links in our articles.