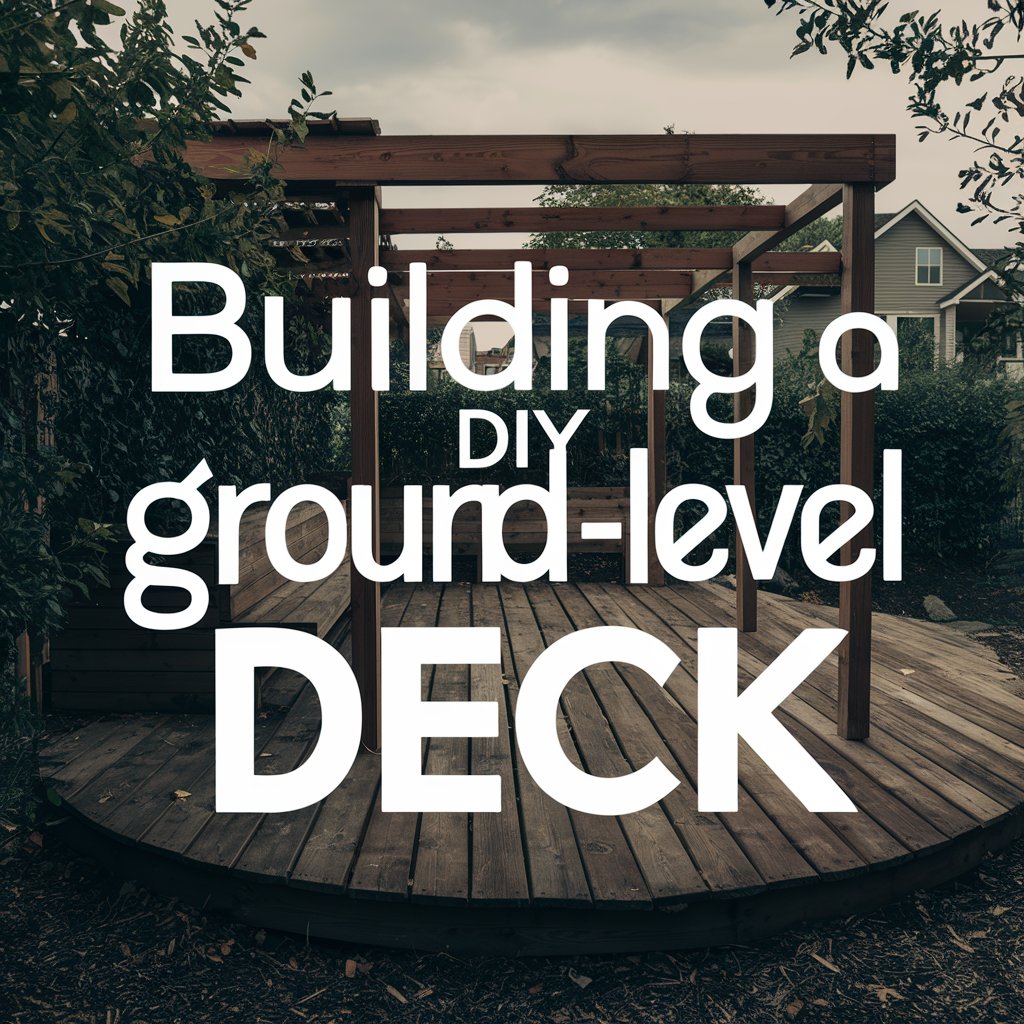
Imagine stepping outside your door and onto a welcoming deck, a space that seamlessly extends your indoor living area into the great outdoors. Building a ground-level deck right by your door is a fantastic way to create a cozy spot for relaxation, entertaining, and soaking up the sun. Best of all, you don’t need to be a professional carpenter to bring this vision to life. Get ready to roll up your sleeves and embark on a DIY project that will enhance your outdoor experience.
Planning Your DIY Ground-Level Deck
Building a ground-level deck is a great way to create an outdoor space that’s both functional and inviting. Unlike raised decks, a ground-level deck is typically easier to build, doesn’t require complex framing, and can be placed close to the ground without the need for stairs. It’s the perfect project for DIYers looking to enhance their backyard without the hassle of complex construction.
Before diving into the construction process, the first step is planning. Decide on the size and location of your deck. You’ll want to choose a spot that’s relatively flat and free of obstacles like tree roots or large rocks. It’s also crucial to check local building codes to determine if you need a permit for your deck. Ground-level decks usually have fewer permit requirements, but it’s always best to be certain. For more information on permits and regulations, check out this guide on building permits to ensure your project complies with local laws.
Once you’ve got the planning in place, gather your materials, including pressure-treated wood, deck screws, gravel, and decking boards.
Step-by-Step Guide to Building Your Ground-Level Deck
Once your planning is done and you’ve gathered materials, it’s time to start building your ground-level deck. Here’s a step-by-step guide to help you through the process:
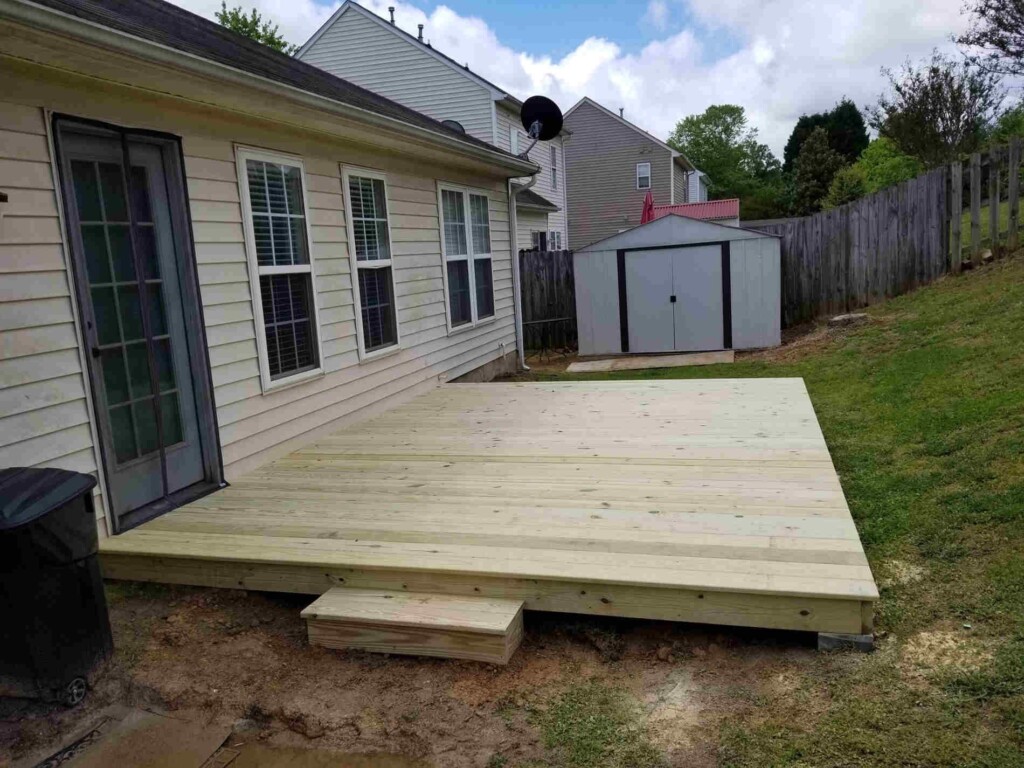
Install the Decking Boards
Once your frame is built and secure, it’s time to lay the decking boards. Start at one end and work your way across, leaving a small gap (about 1/8 inch) between each board for drainage. Secure the boards to the frame using deck screws, making sure they’re evenly spaced and aligned.
Depending on the wood you choose, you may want to finish the deck with a stain or sealant to protect it from the elements.
Prepare the Ground
Begin by clearing the area where the deck will be installed. Remove any grass, rocks, or debris. Next, dig down a few inches and create a level surface. To prevent weeds and moisture problems, lay down a weed barrier or landscape fabric.
Once the fabric is in place, add a 2-4 inch layer of gravel or crushed stone to help with drainage and keep moisture away from the wood. This step is critical for maintaining the longevity of your deck.

Lay the Foundation
For ground-level decks, you don’t need deep footings. You can either use concrete deck blocks or create a simple base of compacted gravel with concrete pavers. Place your foundation blocks or pavers on top of the gravel, ensuring they are level and evenly spaced to support the deck joists.
Build the Frame
Using pressure-treated 2×6 lumber, build the deck frame. The frame is the skeleton of the deck, so it must be strong and level. Measure the area and cut the joists to size. Attach them together with deck screws to form a rectangular frame. Place joist hangers inside the frame to add extra support for the decking boards.
Make sure to double-check that the frame is level before securing it to the concrete blocks or pavers.

What to Put Under a Ground-Level Deck
One of the most important aspects of building a ground-level deck is ensuring proper drainage and moisture control. Since the deck will sit close to or directly on the ground, you need to take steps to prevent water accumulation and protect the wood from rotting. Here’s what you should consider putting under your deck:
- Gravel or Crushed Stone
Laying down a layer of gravel or crushed stone helps improve drainage under your deck. This prevents water from pooling and keeps moisture away from the wood, which is crucial for prolonging the life of the deck. The gravel also reduces the growth of weeds and provides a solid base for any foundation blocks or pavers. - Weed Barrier Fabric
After clearing the area, place a weed barrier fabric to keep weeds from growing up through the gaps between your decking boards. This fabric also allows water to drain through, reducing the chances of standing water underneath the deck. - Concrete Blocks or Pavers
Instead of digging deep footings, you can use concrete deck blocks or flat pavers to provide a solid base for your frame. These materials distribute the weight of the deck evenly and prevent direct contact between the wood and soil, helping to reduce moisture-related damage.
For more DIY ideas and helpful tips for home improvement projects, check out these DIY home improvement ideas to keep your outdoor space functional and beautiful.

Can I Build a Deck Directly on the Ground?
While it’s possible to build a deck directly on the ground, it’s not always recommended due to moisture concerns. Placing a deck directly on the soil can cause wood to rot over time because of exposure to moisture. However, with proper precautions, you can build a low-level deck that lasts for years.

If you’re set on placing your deck close to the ground, here are a few key steps to ensure it stays durable:
- Use Pressure-Treated Lumber
Always use pressure-treated wood for both the frame and decking boards, as it is designed to resist moisture, rot, and insect damage. For areas that have higher moisture levels or frequent rainfall, this type of wood is essential for longevity. - Ensure Proper Drainage
As mentioned before, laying down gravel or crushed stone under the deck is critical for proper drainage. This prevents water from accumulating under the deck and reduces moisture exposure to the wood. - Maintain Airflow
Even if your deck is sitting low to the ground, try to leave a small gap between the deck and the soil to allow for airflow. This helps keep the wood dry and prevents moisture buildup, which can cause rot. - Regular Maintenance
A deck built close to the ground will require regular maintenance, including sealing or staining the wood to protect it from weather elements. You may need to reapply stain every couple of years to ensure the wood remains protected.
If you’re interested in more DIY projects, take a look at this guide to building your own shipping container home for more inspiration on expanding your outdoor space.

Finishing Touches for Your Ground-Level Deck
Once the main structure of your ground-level deck is complete, it’s time to focus on the finishing touches to make the space even more inviting and functional. Here are a few ideas to enhance the look and feel of your deck:
- Add a Border or Skirt
To give your deck a polished look, consider adding a skirt around the edges. This can be made from pressure-treated wood, lattice panels, or even composite materials. Not only does a skirt hide the underside of the deck, but it also adds to the overall aesthetic by creating a clean, finished edge. - Incorporate Lighting
Adding ambient lighting, such as solar-powered deck lights or LED string lights, can make your deck more enjoyable during the evening. Lights can be installed along the perimeter, on steps, or even integrated into the deck boards themselves for a seamless look. This small addition will enhance the mood and functionality of your deck. - Furnish the Space
Choose comfortable and weather-resistant furniture to turn your deck into a true outdoor living space. From cushioned chairs and tables to hammocks or a fire pit, think about how you want to use the space and furnish it accordingly. If you’re considering an outdoor relaxation area, you might even add a small hot tub. Check out this guide on choosing the best 2-person hot tub for inspiration. - Regular Maintenance
To keep your deck looking great year after year, be sure to clean it regularly, apply wood sealant, and inspect it for any signs of wear or damage. Proper maintenance can significantly extend the life of your deck.
With these finishing touches, your DIY ground-level deck will not only be functional but also a stylish and inviting space where you can relax and entertain.

As an Amazon Associate we earn from qualifying purchases through some links in our articles.