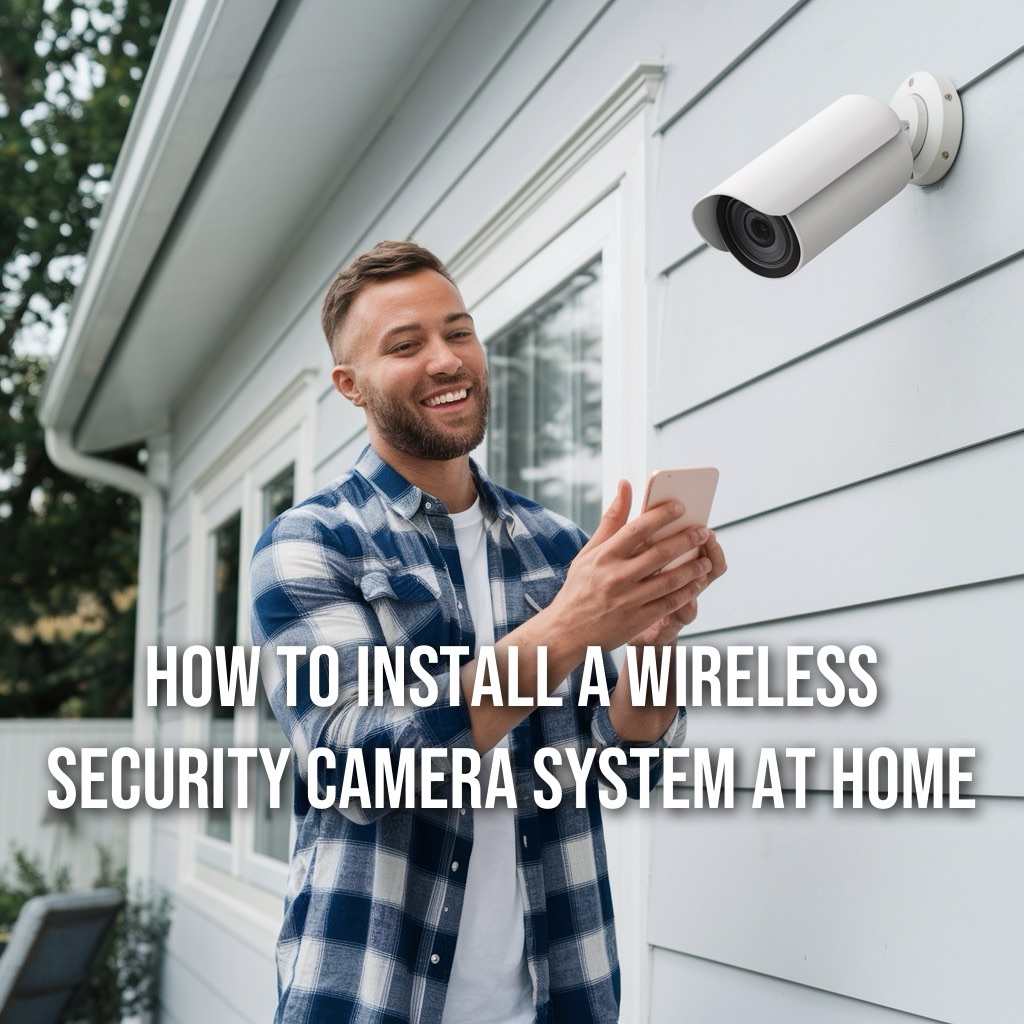
How to Install a Wireless Security Camera System at Home
If you’ve ever felt like your front yard, garage, or backyard needed an extra set of eyes—you’re not alone. I used to worry constantly when I wasn’t home. That’s why I finally pulled the trigger and installed a wireless security camera system myself. Spoiler alert: it’s not as complicated as you’d think.
Whether you’re protecting packages, keeping tabs on pets, or just want peace of mind while away, a wireless setup is one of the best upgrades I’ve made to my home.
Want help choosing the right system? 👉 This guide breaks down the best wireless camera systems with remote viewing so you’re not wasting your time or money.

1. Unbox Everything and Check What’s Included
Before I even grabbed my drill, I made sure I had:
- Cameras (obviously)
- Mounting brackets and hardware
- Power cords or rechargeable batteries
- A base station (if your system uses one)
- Clear instructions and QR codes for app setup
I also laid out my tools ahead of time. If you’re mounting on drywall, I highly recommend grabbing a stud finder like this one to make sure your screws are going into something solid.

2. Plan Camera Placement First
Before drilling a single hole, I walked around my property and figured out:
- Where my biggest blind spots were
- Where foot traffic enters/exits
- What height gave me the best view without cutting off heads or driveways
Pro tip: Place cameras 7–9 feet high, angled slightly downward. It keeps them out of reach but gives you a great view. Want more outdoor privacy too? These privacy plants grow fast and pair great with cameras.
3. Mount Cameras Securely
Most systems come with simple wall mounts and screws. For outdoor cameras, make sure you’re using anchors or screwing directly into a stud or wood backing.
If you’re mounting on siding or brick, you may need masonry screws or a cordless drill with a good hammer function.
Once mounted, tighten the camera ball joints well so wind doesn’t shift your view every storm.


4. Connect to Wi-Fi and Use the App
Once everything was physically installed, I downloaded the camera system’s app, scanned each device’s QR code, and connected them to my home Wi-Fi.
Some key steps:
- Connect cameras to power (unless they’re battery-powered)
- Wait for the camera’s indicator light to flash
- Use the app to link each camera one at a time
Make sure your router is strong enough or close enough—this article goes into more detail on camera placement and weak Wi-Fi signals.
If you’re still getting laggy video, read up on the differences between wireless and Wi-Fi cameras—not all “wireless” means the same thing!
5. Fine-Tune the Settings
Once the cameras were live, I adjusted each one through the app:
- Motion sensitivity (so bugs didn’t set it off)
- Recording zones (only alert when someone walks up, not cars driving by)
- Night vision brightness
- Notification preferences
Remote viewing was a huge selling point for me. I can check in on my garage or dog when I’m out of town—here’s why I consider remote access a must-have.
6. Test All Angles Before You Call It Done
Before wrapping up, I walked around my home while monitoring the live feeds. I had my phone in one hand and made sure:
- Each camera had a clear view of key areas
- No major glare or light interference
- Night vision was working in total darkness
And most importantly, I tested playback and remote alerts to be sure everything was functioning when triggered.


7. Make It Work With Your Lifestyle
Installing wireless security doesn’t stop with mounting a few cameras. You want a system that works for you.
Here’s what I added next:
- Solar panels for outdoor battery-powered cams
- Cloud storage for easier video access
- More coverage later once I knew where blind spots still existed
If you’re still comparing brands or trying to decide if it’s worth the effort, this guide helps you choose the best system for DIY homeowners—and spoiler: you don’t need to spend thousands.
DIY Security Is Easier Than Ever
If you’re like me and prefer to figure things out on your own, you’ll be shocked at how easy it is to get a system up and running in just a couple hours.
Need help comparing systems? Start here with our full guide on choosing the best wireless security system with remote viewing—it’ll save you time and a few headaches.
And if you’re still setting the stage for great security, backyard privacy upgrades like these shrubs can make your space even more secure and more enjoyable.
As an Amazon Associate we earn from qualifying purchases through some links in our articles.