Keeping your garage clutter-free and well-organized can be a challenge, especially when it comes to storing long-handled tools like shovels and rakes. Luckily, there’s an easy and cost-effective DIY solution that will help you make the most of your space. With a few simple materials and some creativity, you can create a long-hand tool storage system that keeps your tools accessible and neatly arranged. Get a big pack of bungee straps cheap. Click here to buy on Amazon!
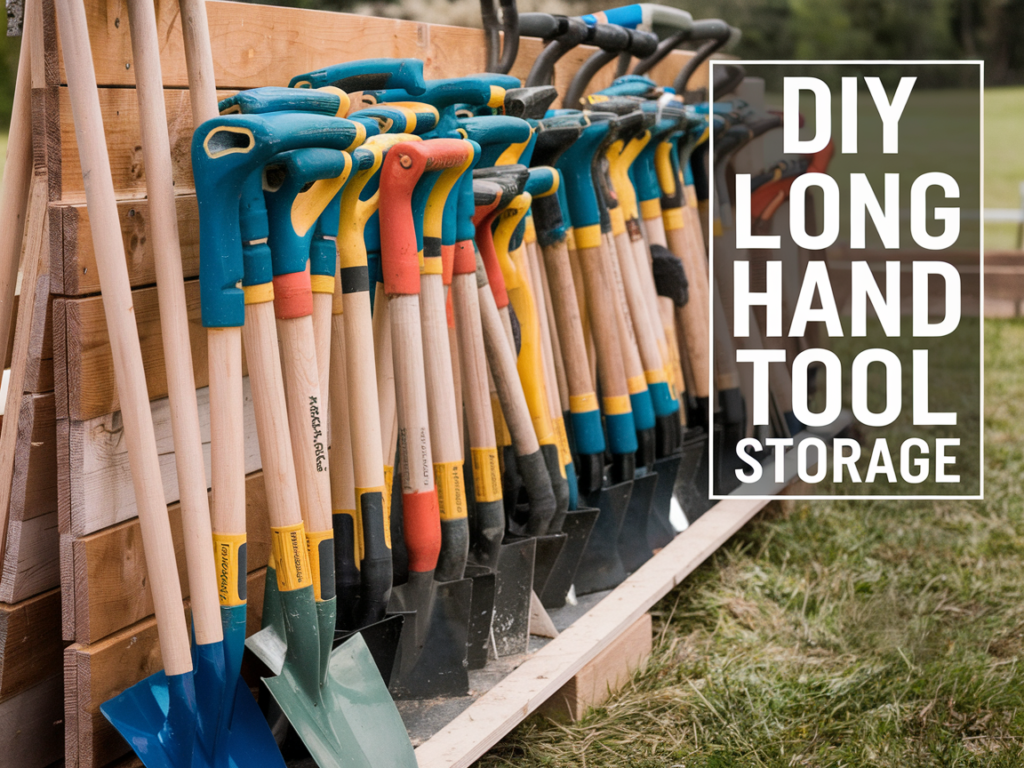
How to Build a DIY Long Hand Tool Storage Rack
Long-handled tools like rakes, shovels, brooms, and garden hoes can quickly create clutter in a garage or shed if not stored properly. A DIY long-hand tool storage rack is an easy and cost-effective solution to keep everything organized and within reach.
Step 1: Choose the Best Storage Location
Before building your tool rack, decide where it will be most convenient. Common locations include:
- Garage walls for easy access and vertical storage
- Shed interiors to keep tools protected from the elements
- Basements or workshops if you prefer indoor storage
If you have limited wall space, consider installing a ceiling-mounted hanging rack or a corner storage unit to maximize unused space.
Step 2: Materials Needed for a Simple Wall-Mounted Tool Rack
✔ A sturdy wooden board (such as a 2×4 or plywood)
✔ Heavy-duty hooks, brackets, or PVC pipe sections
✔ Drill and screws for mounting
✔ Measuring tape and level for proper alignment
Step 3: Build and Install Your Storage Rack
- Wall-mounted rack with hooks: Attach the wooden board to wall studs and screw in large hooks to hold each tool securely.
- PVC pipe storage: Cut PVC pipe into short sections, mount them to the board, and slide tool handles inside for a snug fit.
- Slotted wood rack: Use a saw to cut evenly spaced slots in a wooden board, allowing handles to slide in and rest securely.
By creating a custom DIY tool storage solution, you’ll free up space, protect your tools from damage, and make yard work more efficient.

Alternative Storage Ideas for Long-Handled Tools
If a wall-mounted rack isn’t the best option for your space, here are a few alternative ways to keep your tools organized:
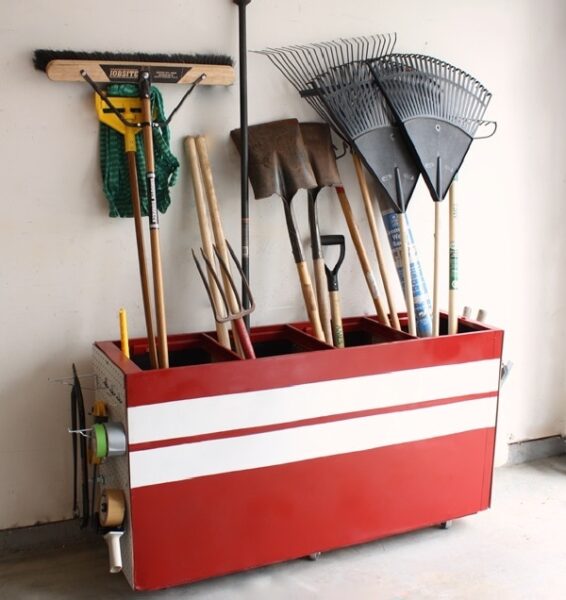
1. Freestanding Tool Organizer
A barrel, large bucket, or wooden crate can be repurposed into a vertical tool holder. Simply stand long-handled tools upright and add dividers to keep them from falling over.
2. Pegboard Storage System
Installing a pegboard with adjustable hooks allows for flexible tool arrangement, making it easy to reorganize as needed.
3. Overhead Ceiling Storage
For garages with limited wall space, a hanging tool rack attached to the ceiling can keep tools off the ground while remaining accessible.
A well-designed tool storage system not only keeps your workspace tidy but also extends the life of your tools by preventing unnecessary wear and damage.

Materials You’ll Need:
- Wood boards (2×4 or similar)
- Bungee cords or straps
- Screws
- Screwdriver or drill
- Level
- Measuring tape
- Stud finder (if needed)
- Mounting hardware (anchors and screws, if necessary)
Step-by-Step Guide:
1. Measure and Plan: Measure the length of the tools you want to store and determine how many bungee cords you’ll need for each tool. This will help you determine the spacing between the bungee cords.
2. Attach Wood Boards: If your garage studs are exposed, you’re in luck! You can attach wood boards horizontally between the studs to create a sturdy base for your bungee cords. Use screws to secure the wood boards to the studs.
3. Mark the Bungee Cord Locations: Mark the locations where you want to attach the bungee cords. Space them according to the length of your tools, ensuring they will be securely held in place.
4. Attach Bungee Cords: Attach the bungee cords to the wood boards at the marked locations. You can loop the bungee cords around the wood boards and secure them with knots or use hooks if your bungee cords come with them.
5. Test and Adjust: Before hanging your tools, test the bungee cords to make sure they are securely holding the tools in place. Adjust the tension of the bungee cords if necessary.
6. Hang Your Tools: Insert the handles of your shovels, rakes, and other long-handled tools into the bungee cords. The cords will hold the tools securely against the wall, keeping them organized and easily accessible.
7. Finishing Touches: Step back and admire your newly organized tool storage solution. Make any final adjustments to the bungee cords or tool placement as needed.
Tips for Success:
- If your garage studs are covered by drywall, you can attach additional wood boards to the wall using anchors and screws. Then, attach the bungee cords to these wood boards.
- Use heavy-duty bungee cords to ensure they can hold the weight of your tools.
- Consider labeling or color-coding the bungee cords to easily identify which tool goes where.
- Periodically check the bungee cords for wear and tear, replacing them as needed.
Final Thoughts:
Creating a long-hand tool storage system in your garage doesn’t have to be complicated or expensive. With a few basic materials and some ingenuity, you can maximize your garage space and keep your tools organized. This DIY solution ensures your tools are within reach and prevents them from cluttering up your garage floor. Get started on this project and enjoy a cleaner and more organized garage space
As an Amazon Associate we earn from qualifying purchases through some links in our articles.