A farmhouse noodle board is more than just a trendy kitchen accessory—it’s a practical, stylish way to protect your stove and add extra counter space. Whether you’re rolling out dough, prepping ingredients, or simply looking for a rustic touch in your kitchen, a DIY noodle board is the perfect project for both beginners and experienced DIYers.
If you’ve ever considered making one yourself, we’ve got you covered. With a few tools, some wood, and a little guidance, you can create a stunning farmhouse noodle board that’s functional and beautiful. Want to make the process even easier? Check out our step-by-step DIY plans with photos and a video tutorial to walk you through every step.
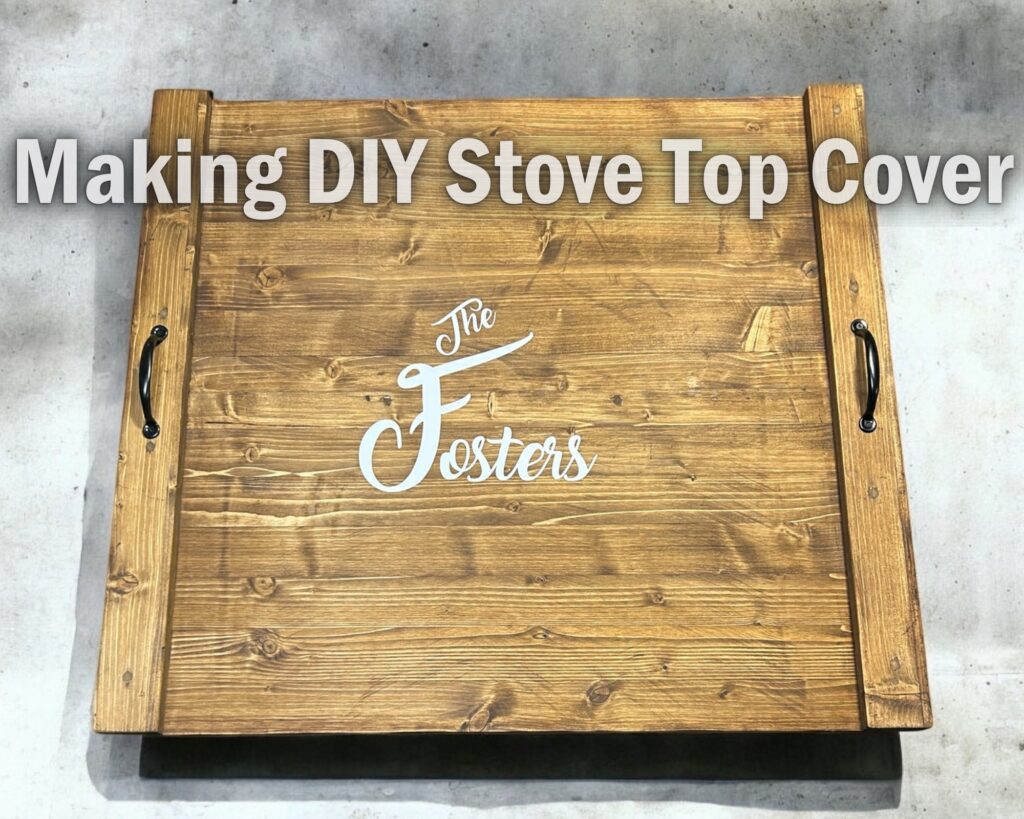
What Is the Point of a Noodle Board?
Originally, noodle boards were used in kitchens for rolling out dough—hence the name! These large, flat boards provided a clean, smooth surface for preparing noodles, bread, and other baked goods. Today, noodle boards have evolved into multifunctional stove covers that are both practical and decorative.
Benefits of a Noodle Board:
- Protects Your Stove: Shields the stovetop from scratches, dust, and spills when not in use.
- Adds Counter Space: Provides extra surface area for prep work, especially in small kitchens.
- Enhances Kitchen Style: Brings a cozy, rustic farmhouse look to your kitchen decor.
Whether you call it a noodle board, stove cover, or stove top tray, this versatile kitchen addition is a must-have for DIY enthusiasts. Ready to create your own? Our DIY plans with video instructions make the process simple and fun.
What Kind of Wood Do You Use for a Noodle Board?
Choosing the right wood for your farmhouse noodle board is crucial for both appearance and functionality. The wood you select should be durable, lightweight, and easy to work with, ensuring your finished project is both practical and visually appealing.
Best Wood Types for a Noodle Board:
- Pine: A popular choice for its affordability and rustic charm. It’s lightweight and easy to stain or paint.
- Poplar: Slightly more durable than pine, with a smooth surface that’s great for a clean, polished look.
- Reclaimed Wood: For a truly rustic vibe, reclaimed wood adds character and uniqueness to your noodle board.
Why Wood Matters:
Lightweight wood ensures the board is easy to lift and move, while smooth-grain wood minimizes splinters and makes sealing more effective.
If you’re unsure about materials or want tips on sourcing the right wood, our DIY plans include wood recommendations and step-by-step guidance for selecting the perfect type for your project.
How Much Does It Cost to Make a Farmhouse Noodle Board?
One of the best things about making a farmhouse noodle board is how affordable it can be compared to buying a pre-made one. With a little DIY effort, you can save money and customize the board to fit your style and stove perfectly.
Cost Breakdown:
- Wood: $10–$30, depending on the type and size of wood you choose.
- Handles: $10–$15 for decorative or functional hardware.
- Paint, Stain, or Sealer: $15–$20 to finish and protect the board.
- Screws or Wood Glue: Usually under $5 if you don’t already have these on hand.
Total Estimated Cost:
Around $35–$70, which is much less than the $100–$200 price tag for a pre-made noodle board.
Want to make sure you don’t waste money on incorrect measurements or materials? Our step-by-step plans with a video tutorial will guide you through the process and help you get it right the first time!
How Thick Should a Noodle Board Be?
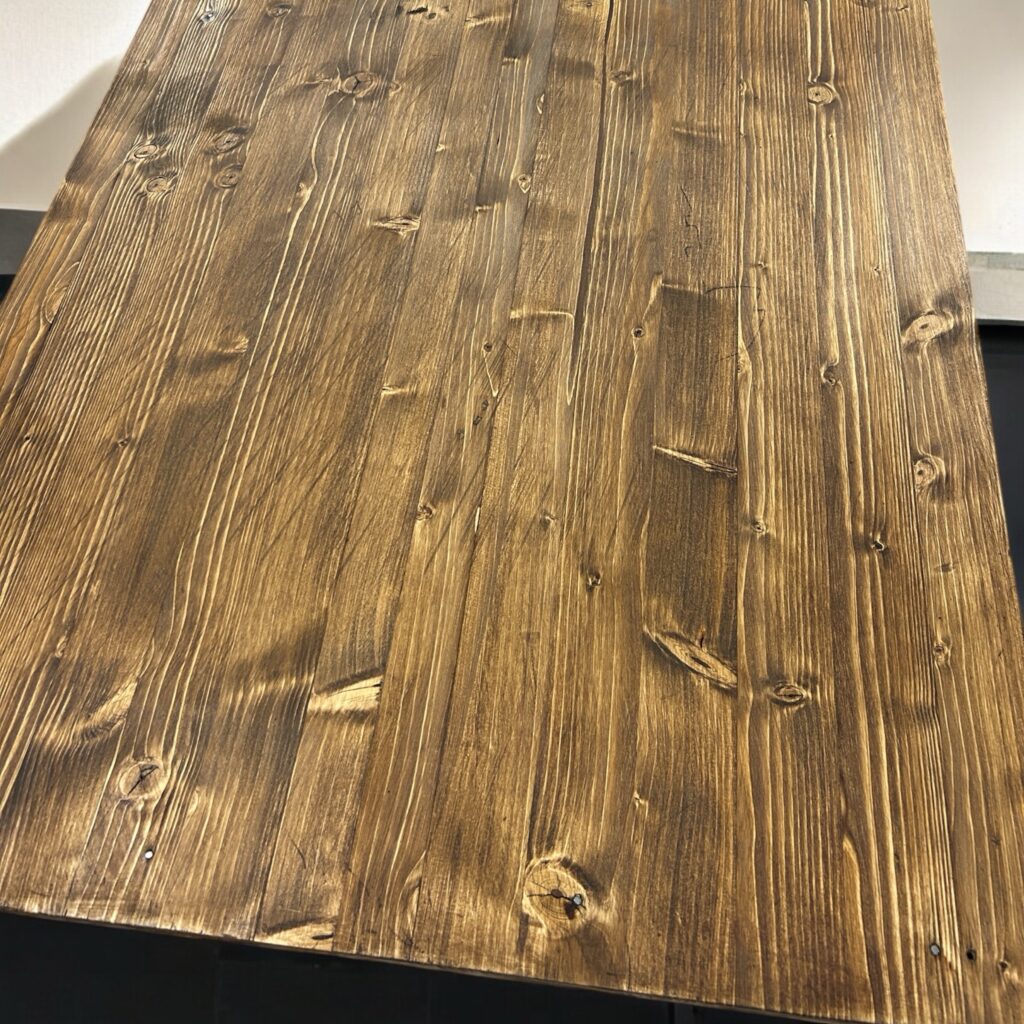
The thickness of your noodle board is an important consideration for both functionality and aesthetics. If it’s too thin, the board might feel flimsy, but if it’s too thick, it could become heavy and hard to move.
Ideal Thickness for a Noodle Board:
- ¾ Inch Wood: This is the most common and recommended thickness. It provides a sturdy, durable surface without making the board too bulky or heavy.
- 1 Inch Wood: For a more substantial, farmhouse-style look, you can opt for slightly thicker wood.
Why Thickness Matters:
The right thickness ensures that the noodle board sits securely on your stove without wobbling or slipping. It also makes it easier to attach handles for a polished, finished look.
For step-by-step instructions on choosing the right materials and getting the perfect thickness, check out our detailed DIY plans with video guidance included.
Can You Put a Noodle Board on a Hot Stove?
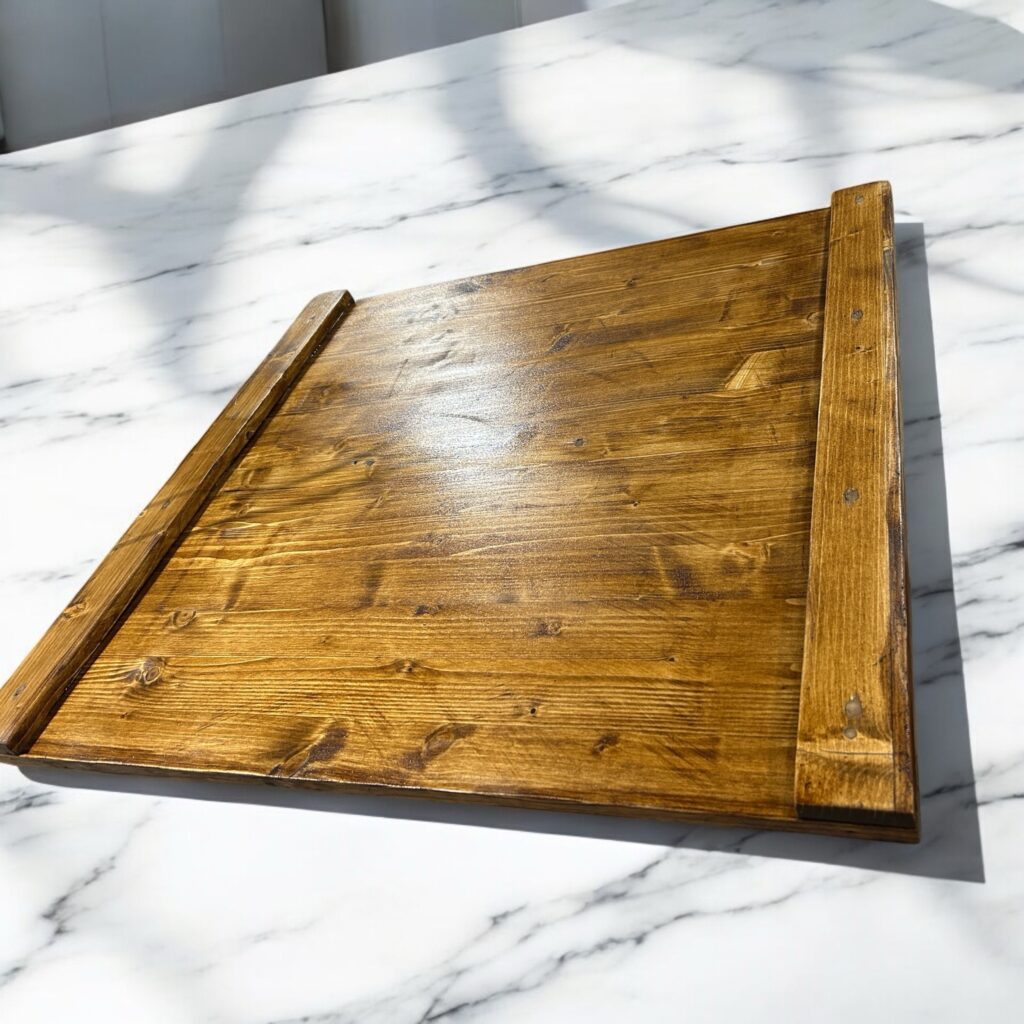
No, it’s not safe to place a noodle board on a hot stove. While these boards are designed to protect and cover your stove, they are typically made of wood, which is flammable and can warp or crack when exposed to high heat.
Safety Tips for Using a Noodle Board:
- Always Allow the Stove to Cool: Wait until your stovetop is completely cool before placing the noodle board on it.
- Use Heat-Resistant Materials if Necessary: If you plan to use your noodle board for food prep, ensure it’s properly sealed to handle indirect heat.
- Avoid Open Flames: Never use the noodle board near burners or active stovetops.
Extra Precaution:
To ensure your noodle board stays in great shape, sealing the wood is essential. For tips on creating long-lasting DIY projects, visit Building a DIY Wall-Mounted Spice Shelf for ideas that can also apply to your noodle board.
With proper care and safety measures, your noodle board will remain a functional and beautiful addition to your kitchen!
How Do You Seal a Noodle Board?
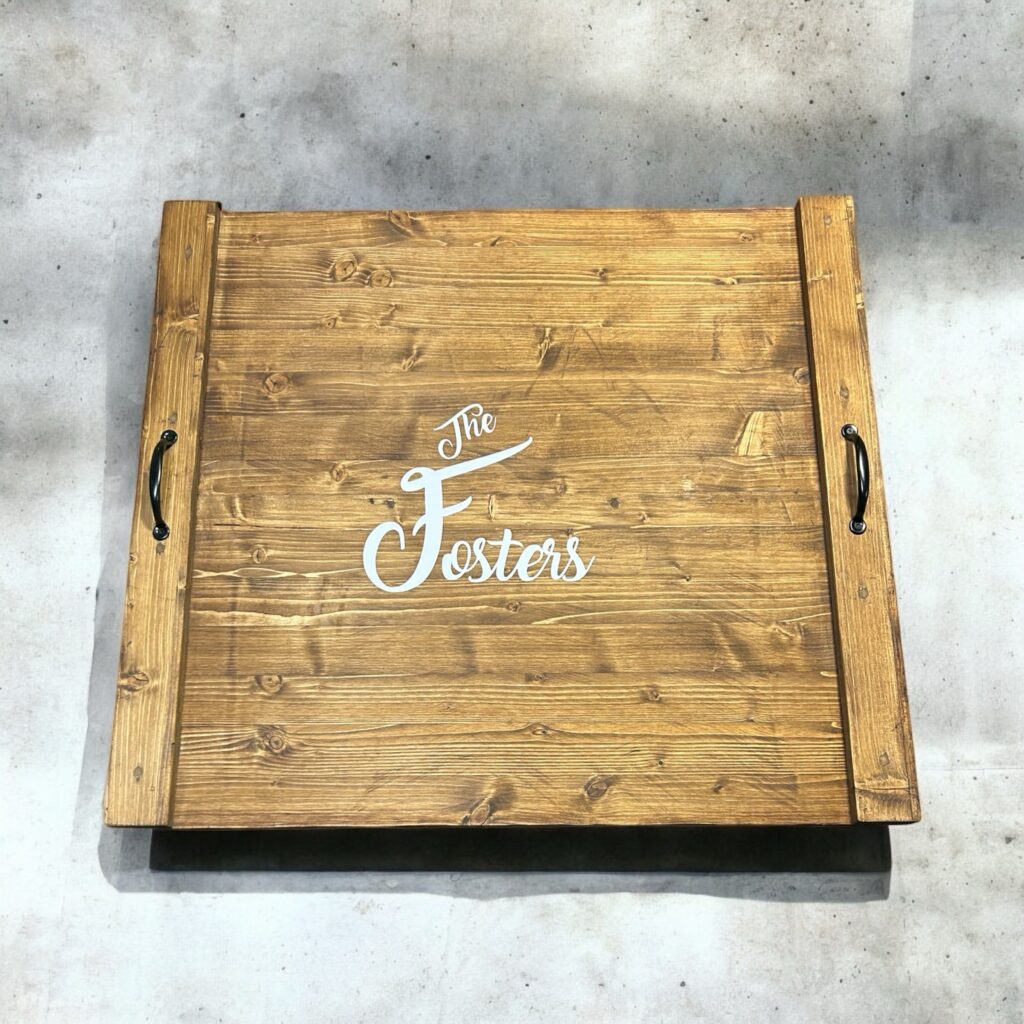
Sealing your farmhouse noodle board is an essential step to protect the wood and ensure its longevity. A good sealant prevents water damage, stains, and warping, while also making the board easier to clean.
Steps to Properly Seal a Noodle Board:
- Sand the Surface:
- Use fine-grit sandpaper to smooth out the wood and remove any rough edges.
- Wipe off the dust with a clean, damp cloth.
- Apply a Stain or Finish (Optional):
- Choose a wood stain to enhance the rustic look or keep it natural for a farmhouse aesthetic.
- Let the stain dry completely before sealing.
- Use a Food-Safe Sealer:
- If you plan to use the noodle board for food prep, choose a food-safe sealant, like mineral oil or a beeswax-based finish.
- For decorative use only, polyurethane or a water-based clear coat works well.
- Apply Multiple Coats:
- Apply 2–3 thin coats of your chosen sealant, allowing each coat to dry fully before applying the next.
Why Sealing Matters:
A sealed noodle board is not only more durable but also easier to clean and maintain. Plus, it helps prevent stains and moisture from damaging the wood over time.
Need more guidance? Our DIY plans with a video guide include tips on staining and sealing your noodle board for a professional finish.

Step-by-Step Instructions for Your DIY Farmhouse Noodle Board
Creating a farmhouse noodle board is a straightforward project that anyone can tackle with a few basic tools and materials. Here’s a high-level overview to get you started:
DIY Farmhouse Noodle Board Overview:
- Measure and Cut the Wood:
- Measure your stove’s dimensions to ensure the board fits securely.
- Cut your wood to size, including the main board and side pieces for the edges.
- Assemble the Board:
- Attach the side pieces to the main board using wood screws or wood glue for stability.
- Sand the Edges:
- Smooth out rough edges to ensure the board is safe to handle and splinter-free.
- Finish and Seal the Wood:
- Apply a stain or paint to achieve your desired look, then seal the board to protect it from moisture and wear.
- Add Handles:
- Attach decorative handles to the sides for easy lifting and a polished appearance.
Make It Easier with Our DIY Plans:
For exact measurements, a detailed step-by-step guide, and a video tutorial, grab our Rustic Stove Cover DIY Plans. These plans take the guesswork out of the process and ensure your noodle board turns out perfectly.
By following these steps, you’ll create a functional and beautiful farmhouse noodle board that’s sure to enhance your kitchen!
Adding a Personal Touch to Your Noodle Board
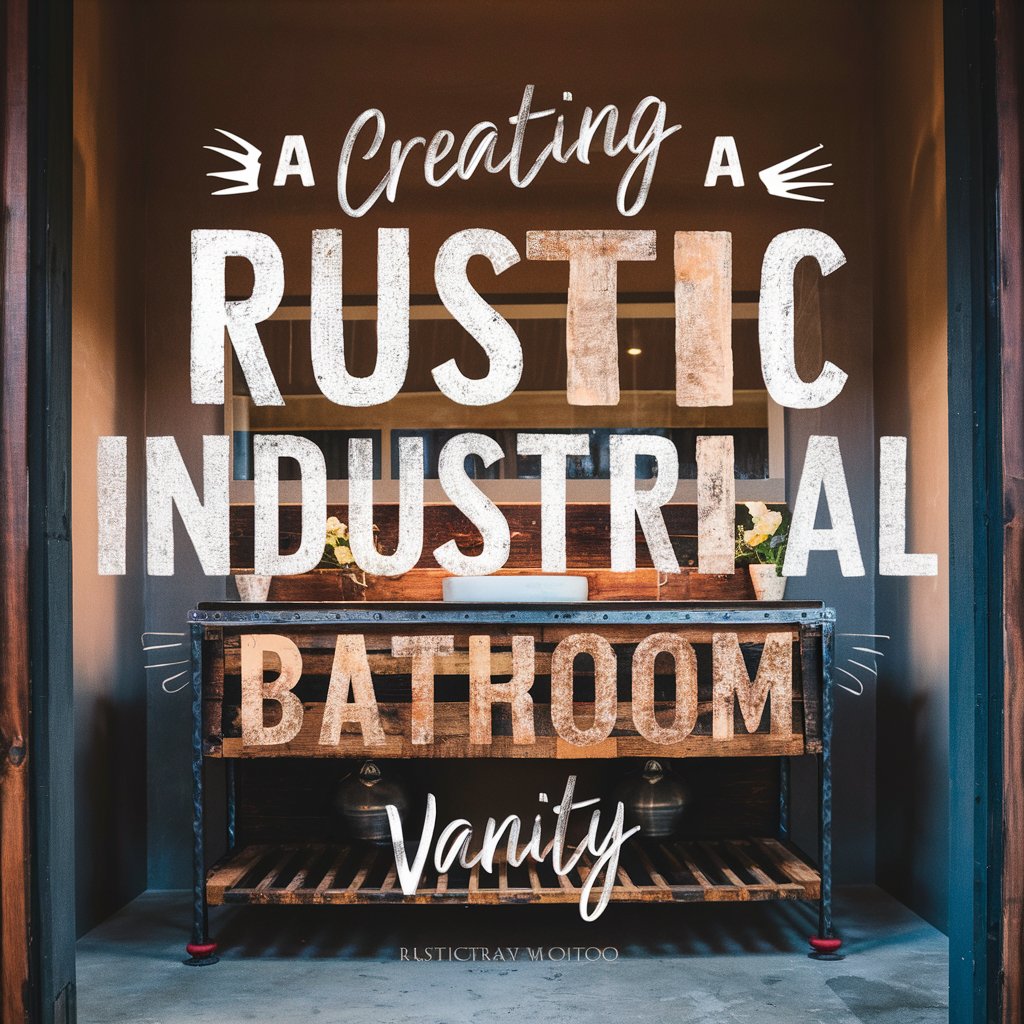
One of the best parts about making your own farmhouse noodle board is the opportunity to customize it to fit your style. Adding personal touches not only makes the board unique but also enhances its charm and functionality.
Ideas for Customizing Your Noodle Board:
- Paint or Stencil Designs:
- Add farmhouse-inspired phrases like “Gather” or “Bless This Kitchen.”
- Use stencils to create patterns or monograms for a personal touch.
- Choose Unique Handles:
- Opt for antique-style handles or brushed metal to match your kitchen decor.
- Handles not only add style but also make the board easier to lift.
- Distressed or Reclaimed Look:
- Sand parts of the paint or stain to give the board a distressed, vintage appearance.
- Use reclaimed wood for an authentic rustic vibe.
For More DIY Customization Inspiration:
Check out Expert Guide: Best Paint for Kitchen Cupboards for tips on choosing durable and attractive finishes that work well on noodle boards too.
By adding these simple details, you’ll have a noodle board that not only serves a purpose but also becomes a centerpiece of your kitchen decor!
Why You’ll Love Building This DIY Farmhouse Noodle Board
Building your own farmhouse noodle board is more than just a DIY project—it’s a rewarding experience that brings personality and functionality to your kitchen. Here’s why you’ll enjoy taking on this project:
1. It’s Affordable and Customizable:
- Making it yourself saves money compared to buying a pre-made board.
- You can choose the wood, stain, and design to match your style perfectly.
2. Adds Style and Functionality:
- A noodle board transforms your stove into extra counter space while adding a cozy farmhouse aesthetic.
- It protects your stovetop from scratches, spills, and wear.
3. Simple and Fun to Build:
- With the right tools and materials, the process is straightforward and beginner-friendly.
- Our DIY plans with a step-by-step video make it even easier, providing measurements, photos, and clear instructions.
4. A Unique Touch for Your Home:
- Your handmade noodle board will stand out as a piece of functional art in your kitchen.
Tackling this DIY project is not only satisfying but also leaves you with a practical and beautiful result you can proudly say you made yourself!

As an Amazon Associate we earn from qualifying purchases through some links in our articles.


