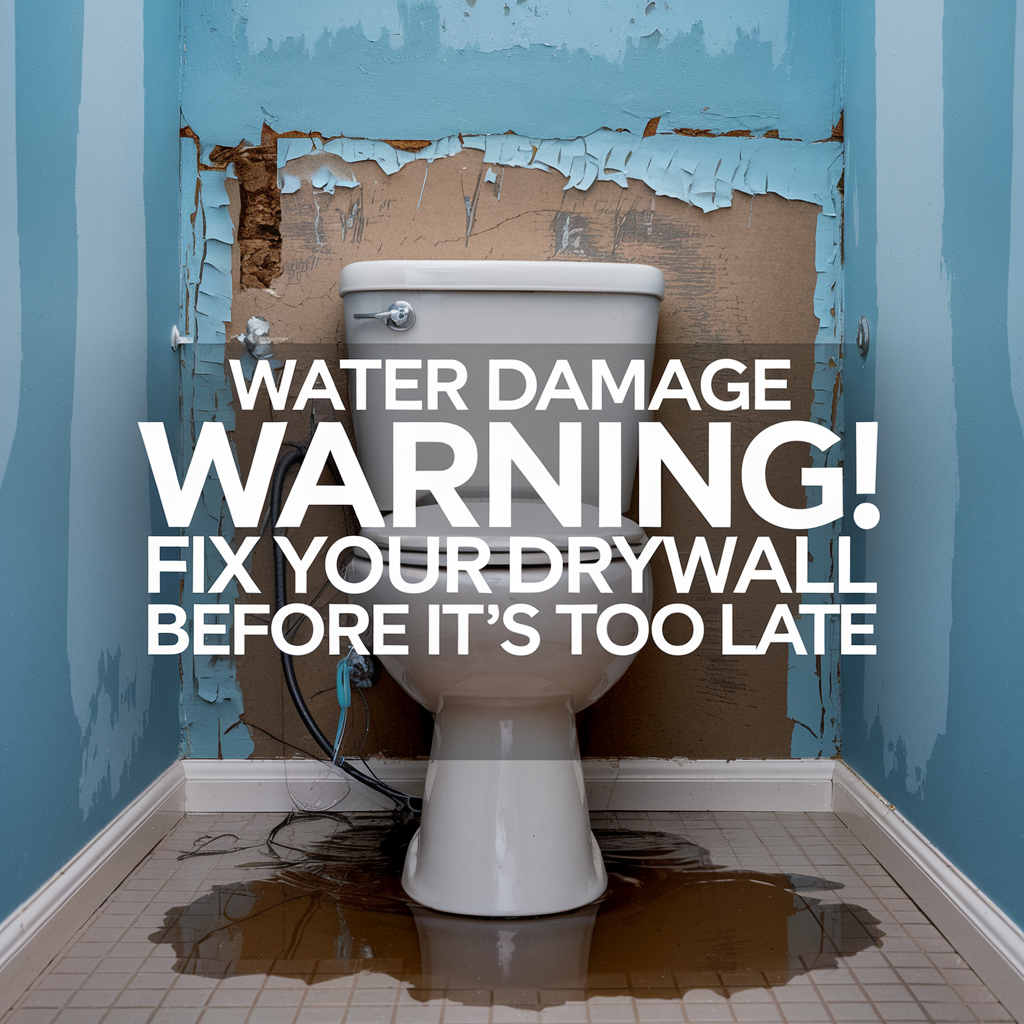
How to Repair Water Damaged Drywall the Right Way
Water damage drywall repair is something every homeowner may have to deal with at some point. Whether it’s a slow leak, a busted pipe, or flooding, water-damaged drywall can lead to mold, structural issues, and expensive repairs if ignored. The good news? With the right approach, you can repair drywall damage yourself and save hundreds of dollars.
When drywall gets wet, it doesn’t automatically mean you have to replace it. But if the damage is severe enough, trying to fix it without removing the affected sections can lead to long-term problems. Before jumping into the repair, let’s break down whether water-damaged drywall can be saved and when replacement is the better option.

Can Water Damaged Drywall Be Repaired?
Water damage drywall repair depends on the severity of the damage. If the drywall has only been exposed to water for a short time and hasn’t started to sag, crumble, or grow mold, it can often be salvaged. However, if the drywall is soft to the touch, has visible mold growth, or is starting to bubble or separate from the wall, it’s best to replace it.
Signs You Can Repair Water Damaged Drywall
- Minor staining with no sagging or soft spots
- The drywall is still firm when pressed
- No visible mold growth
Signs You Need to Replace Water Damaged Drywall
- The drywall is crumbling or falling apart
- Large sections are swollen or warped
- Mold has started growing behind the wall
Trying to paint over water-damaged drywall without proper repair is a bad idea. Not only will the stain bleed through the paint, but if moisture is still trapped inside, it can cause bubbling and peeling over time. Instead, let’s go step by step through the right way to repair water-damaged drywall.
Let me know if you want any tweaks before I move to the next section.

How to Know If Drywall Needs to Be Replaced After Water Damage
Before you begin any water damage drywall repair, you need to determine if the drywall is worth saving. Just because it looks dry doesn’t mean it is. Trapped moisture inside drywall can lead to mold, structural issues, and long-term damage that won’t always be visible right away.
How to Check If Drywall Needs to Be Replaced
- Press on the drywall – If it feels soft, spongy, or crumbles under pressure, it’s too damaged to keep.
- Look for sagging or warping – If the drywall has bubbled, warped, or started separating from the studs, it needs to go.
- Use a moisture meter – A reading above 1% means moisture is still trapped inside, even if it looks dry.
- Check behind the drywall – Cut a small inspection hole and look for hidden mold, excessive moisture, or damage inside the wall.
If the drywall is firm, dry, and only has minor stains, it can likely be repaired. But if it’s soft, warped, or has mold growth, replacement is the only safe option. Now, let’s walk through exactly how to repair water-damaged drywall the right way.
Step-by-Step Guide to Water Damage Drywall Repair
Fixing water-damaged drywall isn’t just about making it look good again. If moisture is still trapped inside, it can lead to mold, weakened walls, and even structural issues over time. The key to a lasting repair is removing all damaged material, ensuring the area is completely dry, and using the right techniques to restore the wall properly.
Step 1: Identify and Stop the Source of Water
Before repairing anything, figure out what caused the damage in the first place. A leaking pipe, roof damage, or even high humidity can lead to water soaking into drywall. If you don’t fix the source of the problem, you’ll be repairing the same spot over and over again.
- Check for plumbing leaks, especially in bathrooms and kitchens.
- Look for roof leaks or window seal failures if water damage is near an exterior wall.
- If humidity or condensation is the issue, consider improving ventilation or using a dehumidifier.
Once the source of water is dealt with, it’s time to dry out the damaged area.
Step 2: Dry Out the Damaged Drywall
Drying the area properly prevents mold growth and ensures the new repair will last. Even if the drywall doesn’t feel wet to the touch, moisture could still be inside.
- Use fans and dehumidifiers to speed up the drying process.
- If the damage is from flooding, cut out the affected drywall immediately to prevent mold from spreading.
- A moisture meter can help confirm if the wall is completely dry before moving forward.
Skipping this step can lead to trapped moisture, which will cause more damage later. Once the wall is dry, you can assess how much needs to be removed.
Step 3: Remove Damaged Drywall
Once the area is completely dry, it’s time to cut out the damaged sections. If the drywall is soft, crumbling, or has any signs of mold, it must be removed. Trying to patch over severely damaged drywall will only lead to bigger problems later.
How to Remove Water-Damaged Drywall Properly
- Mark the cut lines – Use a pencil and a straightedge to mark where you’ll cut. It’s best to remove drywall to the nearest stud for a secure repair.
- Use a utility knife or drywall saw – Cut along the marked lines and remove the damaged section. If it’s a large area, be careful not to cut into electrical wires or plumbing behind the wall.
- Check for hidden damage – Inspect the insulation and framing behind the drywall. If insulation is wet, it should be replaced. If wooden studs are damp, allow them to dry completely before installing new drywall.
- Dispose of the old drywall properly – Bag up the damaged material and remove it from your home to prevent mold spores from spreading.
Once all the damaged drywall is removed, you’re ready to install new drywall or patch smaller areas that don’t require full replacement.
Step 4: Install New Drywall or Patch Small Areas
Now that the damaged drywall is removed, it’s time to restore the wall. The approach you take depends on the size of the damaged area.
For Small Patches (Less Than 6 Inches)
If the water damage was minor and only left behind a small hole or soft spot, you can use a drywall patch kit.
- Cut a new piece of drywall slightly larger than the hole.
- Place the patch over the hole and secure it with drywall screws or adhesive.
- Apply joint compound over the patch, feathering the edges so it blends with the wall.
- Let it dry completely, then sand it smooth before painting.
For Larger Sections of Damage
If you had to cut out an entire section of drywall, you’ll need to install a new piece and secure it to the studs.
- Measure and cut a new drywall panel to fit the opening.
- Secure the new drywall to the wall studs with screws.
- Apply joint tape along the seams, then cover with a thin layer of joint compound.
- Let it dry, then sand it smooth and apply a second coat if needed.
Once the new drywall is in place, you’re ready for the final step—priming and painting to match the rest of the wall.
Step 5: Prime, Paint, and Finish
Now that the new drywall is installed and smooth, the final step is making it blend seamlessly with the rest of the wall. Many homeowners make the mistake of skipping primer, but this is essential for a smooth, long-lasting finish, especially after water damage drywall repair.
Why You Should Always Use Primer First
- Prevents water stains from bleeding through the paint
- Seals the new drywall for even paint absorption
- Helps paint adhere better for a more durable finish
Use a stain-blocking primer, especially if there were water stains before. Regular primers might not be enough to stop stains from coming through over time. Apply one or two coats and let it dry completely before painting.
Best Paint for Water-Damaged Areas
Once the primer is dry, apply at least two coats of high-quality interior paint to match the existing wall. If the area is prone to moisture, like a bathroom or kitchen, consider using a mildew-resistant paint to help prevent future problems.
- Use a roller for large areas and a brush for edges and corners.
- Allow the first coat to dry completely before applying the second.
- Feather the edges to blend the new paint with the surrounding wall.
Once the paint is dry, your drywall repair is complete, and the wall should look as good as new! But if you want to avoid dealing with water damage again, it’s a good idea to take steps to prevent it in the future.
Tips for Preventing Water Damage to Drywall
Water damage drywall repair is one thing, but preventing it from happening in the first place will save you time, money, and frustration. Small leaks and unnoticed moisture buildup can quickly turn into serious problems, so staying proactive is key.
Fix Leaks Immediately
Even a slow drip from a pipe or a minor roof leak can soak into drywall over time. Check for any signs of leaks under sinks, behind appliances, and near windows. If you find moisture, fix the problem right away before it leads to damage.
Use Water-Resistant Drywall in High-Moisture Areas
Not all drywall is created equal. If you’re working in a bathroom, laundry room, or basement, consider installing moisture-resistant drywall (green board) or cement board instead of standard drywall. These materials hold up much better in humid conditions and help prevent future water damage.
Improve Home Ventilation
Excess humidity can slowly degrade drywall, leading to hidden water damage over time. Make sure your home has proper ventilation, especially in rooms prone to moisture.
- Run exhaust fans in bathrooms and kitchens
- Use a dehumidifier in damp areas like basements
- Open windows when possible to improve airflow
Seal Windows and Doors Properly
Water can sneak into drywall through small gaps around windows and doors. Check for any cracks or worn-out caulking and reseal these areas to keep moisture out.
Monitor Your Roof and Gutters
A leaking roof is one of the biggest culprits of drywall water damage. Regularly inspect your roof for missing shingles and make sure your gutters are clear to prevent water from seeping into your home’s structure.
By taking these simple steps, you can greatly reduce the risk of having to deal with drywall repairs due to water damage in the future. If you’re a DIY enthusiast looking for the best tools to handle home repairs, check out Top Tools for Every DIY Enthusiast to make sure you’re prepared for any project.
Related DIY Drywall Repair Resources
Water damage drywall repair isn’t the only drywall issue homeowners face. From accidental holes to general wear and tear, knowing how to fix drywall properly is an essential skill for any DIYer. If you’re tackling multiple drywall projects or want to sharpen your repair skills, these resources will help.
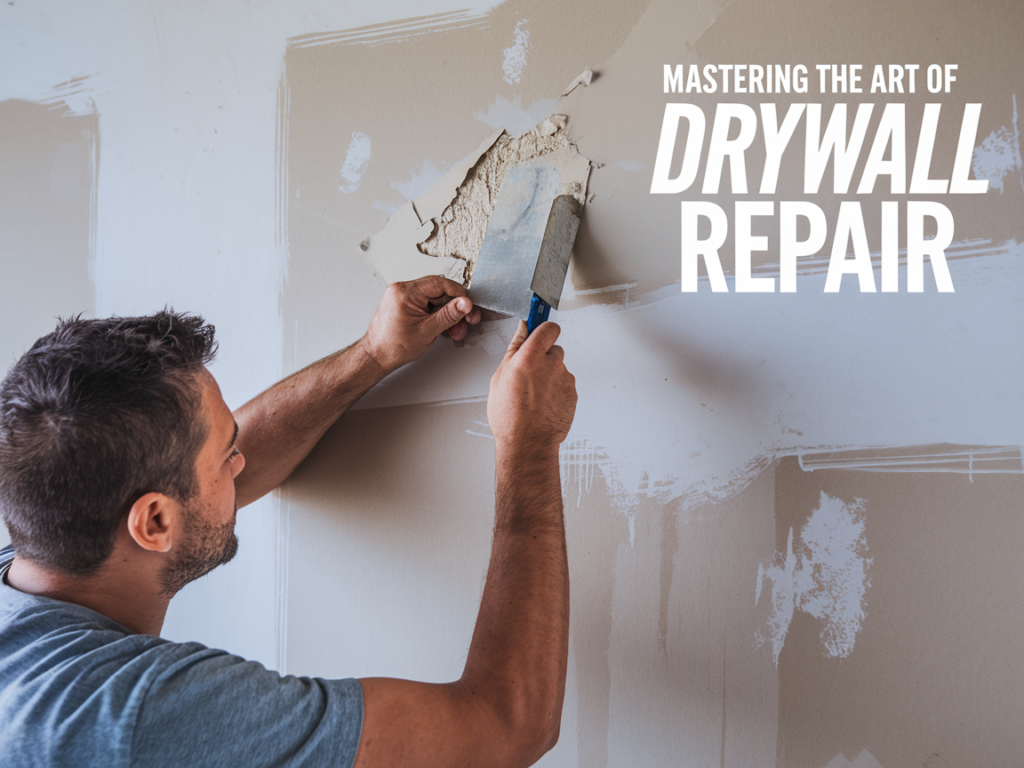
Mastering Drywall Repairs
For a complete guide on drywall fixes, including cracks, dents, and everyday damage, check out Mastering the Art of Drywall Repair: DIY Tips for Flawless Walls. It covers expert techniques to get smooth, professional-looking results.
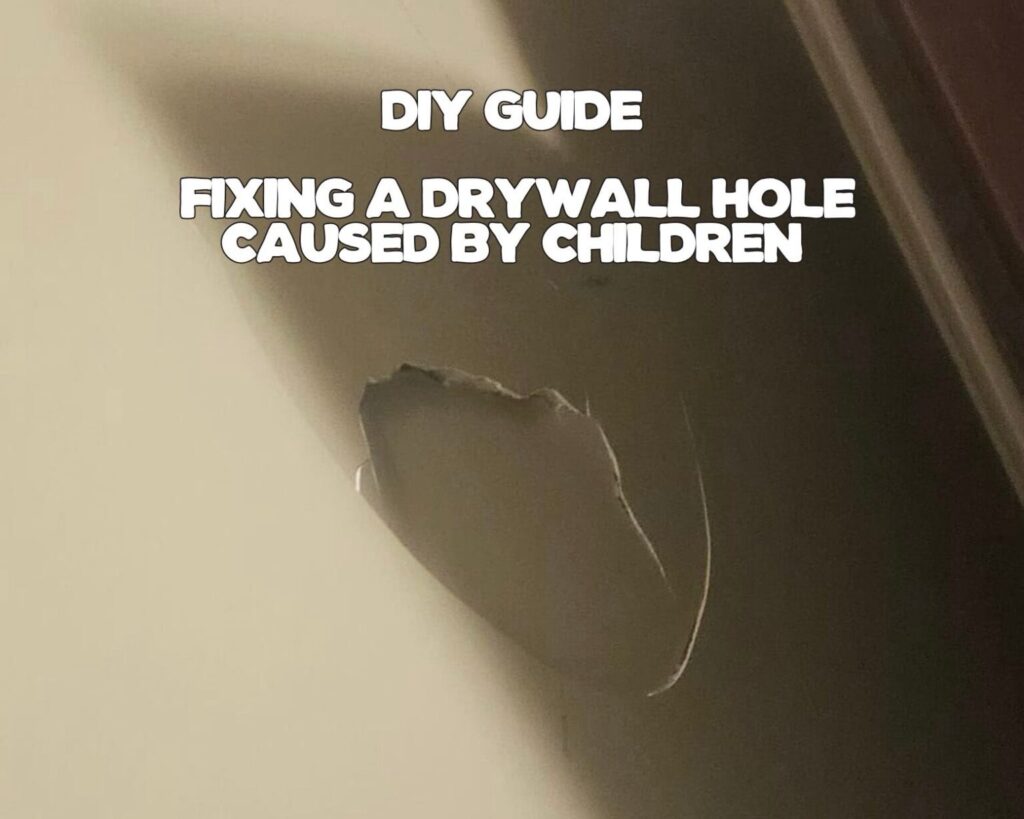
Fixing Large Drywall Holes
If you have a bigger hole in your wall—maybe from furniture damage or an accidental mishap—this guide will walk you through how to patch it properly: DIY Guide: Fixing a Large Drywall Hole Caused by Children.
Essential DIY Homeowner Skills
New to home repairs? Learning the basics can save you time and money. Start with First-Time Homeowner? Start With These 8 Must-Know Tasks to build confidence in tackling home maintenance.
Need to Fix Drywall Near a Shower?
Water damage often happens around showers and tubs. If you’re dealing with damage in a high-moisture area, check out this discussion on repairing drywall damage outside a shower for additional insights.
Having the right tools is just as important as knowing the right techniques. If you’re building up your DIY toolkit, don’t miss Top Tools for Every DIY Enthusiast to make sure you’re ready for any drywall repair project.
With the right knowledge and tools, repairing drywall—whether from water damage or everyday wear—is a skill every homeowner can master.
Final Thoughts for today on Water Damage Drywall Repair
Water damage drywall repair might seem intimidating, but with the right approach, it’s a project most homeowners can tackle on their own. The key is acting fast, drying the area completely, and properly repairing or replacing damaged sections to prevent future issues. Ignoring water damage can lead to mold, structural problems, and costly repairs down the road, so it’s always better to fix it sooner rather than later.

If the damage is minor, a simple patch and repaint might be enough. But if the drywall is soft, crumbling, or moldy, replacing it is the only way to ensure a lasting fix. Either way, taking the time to do it right will save you money and frustration in the long run.
For more expert DIY repair tips, check out:
- Mastering the Art of Drywall Repair: DIY Tips for Flawless Walls
- First-Time Homeowner? Start With These 8 Must-Know Tasks
- Top Tools for Every DIY Enthusiast
Whether you’re dealing with a small leak, a major flood, or just looking to prevent water damage in the future, knowing how to handle drywall repairs is an essential skill for any homeowner. With these tips and resources, you’ll be ready to keep your walls strong, dry, and looking great.
As an Amazon Associate we earn from qualifying purchases through some links in our articles.