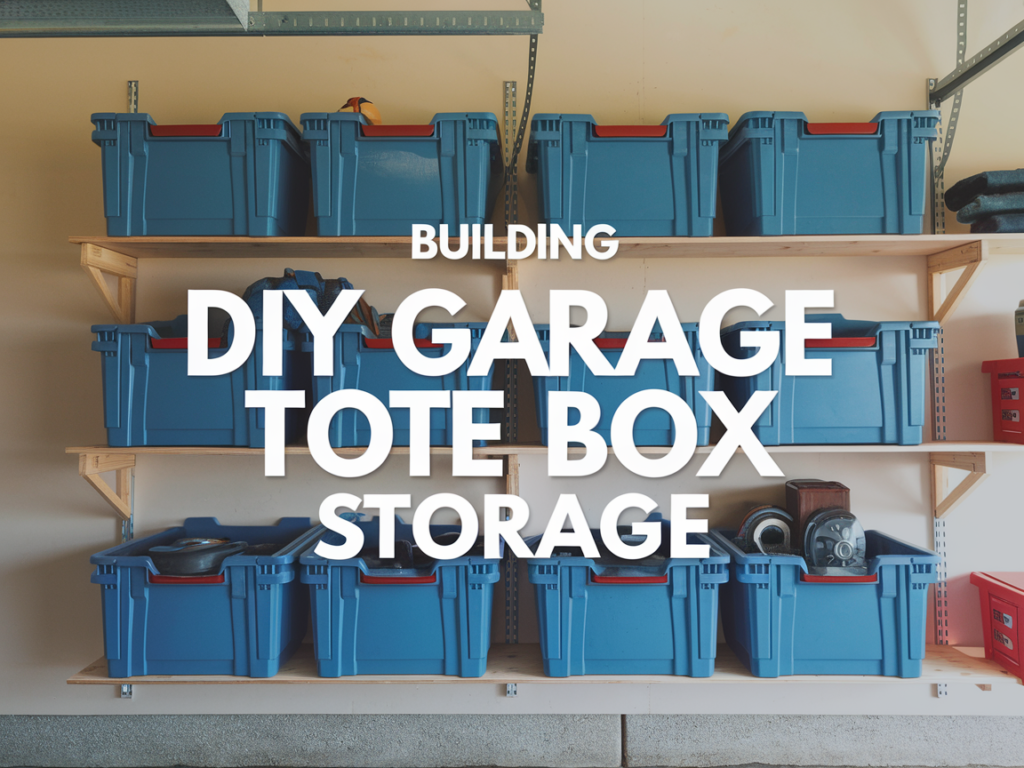
Are your totes and storage boxes creating a cluttered chaos in your garage? It’s time to take control and create a space-saving solution that not only tidies up the mess but also adds a touch of DIY flair to your storage game. In this guide, we’ll walk you through the steps of building robust shelving to effortlessly hold your totes and keep your garage organized like never before.

What You’ll Need:
- Materials:
- Sturdy plywood or particle board
- Heavy-duty brackets or shelf brackets
- 2×4 lumber pieces
- Screws
- Wall anchors (if not attaching to studs)
- Tools:
- Tape measure
- Level
- Drill with bits
- Screwdriver
- Saw (circular saw or jigsaw)
- Stud finder (optional)
- Make sure you have a good strong drill like this dewalt drill click here
Constructing Your Storage Oasis:
- Measure and Plan: Determine the dimensions of your shelving unit based on the available wall space and the size of your totes. Sketch out the design, including the placement of brackets and support pieces.
- Cutting the Boards: Using your saw, cut the plywood or particle board to the desired size for your shelves. Don’t forget to cut the 2×4 lumber pieces to match the width of the shelves.
- Bracket Placement: Attach the heavy-duty brackets to the wall at the desired height for your shelves. Use a level to ensure they are perfectly horizontal. If possible, anchor the brackets to wall studs for added stability.
- Installing the Shelves: Place the pre-cut 2×4 lumber pieces on top of the brackets to create a sturdy foundation for your shelves. Carefully place the plywood or particle board on top of the 2x4s, securing them with screws through the top.
- Secure the Support: To ensure your shelves can handle the weight of the totes, use additional screws to secure the plywood or particle board to the 2×4 lumber from underneath.
- Finishing Touches: Sand any rough edges of the shelves to prevent splinters. If desired, you can paint or stain the shelves to match your garage’s aesthetic.
- Test the Strength: Before loading up the shelves with totes, give them a gentle push to ensure they’re securely attached and stable.
Benefits of DIY Storage Shelves:
- Optimized Space: Maximize your garage’s vertical space by creating dedicated storage for your totes, leaving more room for your vehicles and other belongings.
- Customization: Design the shelves to fit the dimensions of your garage and the size of your totes perfectly.
- Cost-Effective: Building your own storage shelves is often more budget-friendly than purchasing pre-made shelving units.
- Sturdiness: By using heavy-duty brackets and secure construction, you’ll have shelves that can withstand the weight of your totes without worry.
- Personal Satisfaction: Completing a DIY shelving project not only brings a sense of accomplishment but also provides a practical solution to your storage needs.
Say goodbye to the garage clutter and welcome a well-organized space by crafting sturdy shelving for your totes. With a few materials, tools, and a bit of DIY enthusiasm, you can create storage shelves that not only hold your belongings but also enhance the functionality and aesthetics of your garage. Enjoy the benefits of a tidy, accessible, and efficient storage solution that you’ve built with your own two hands.
As an Amazon Associate we earn from qualifying purchases through some links in our articles.