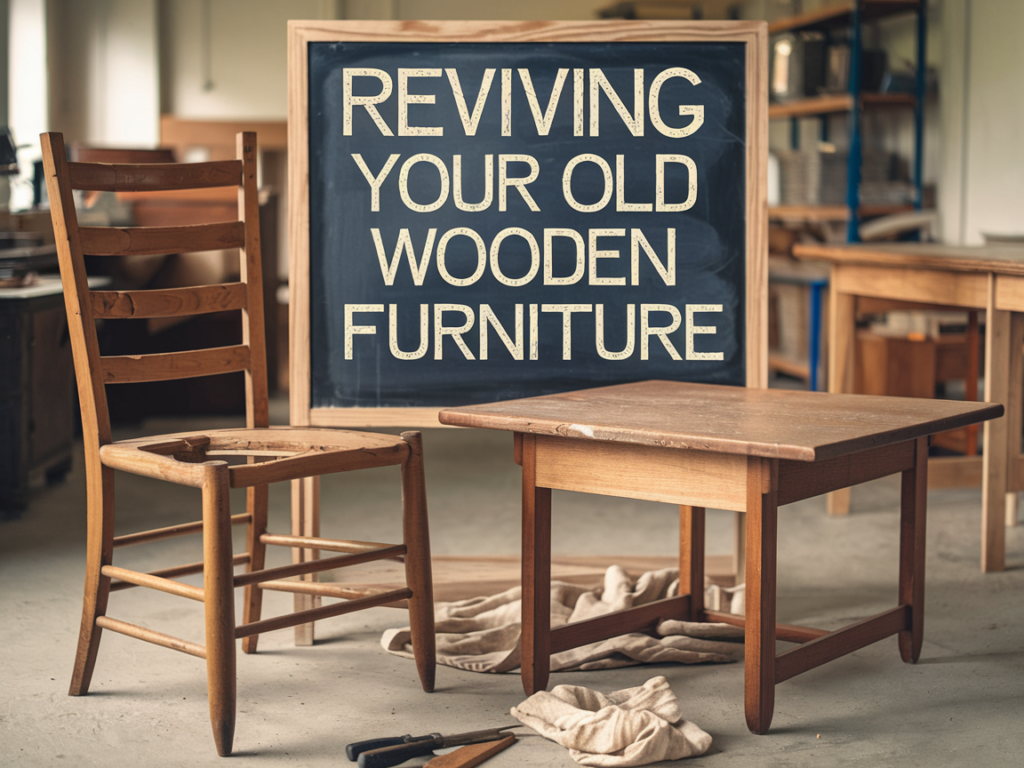
If you have old wooden furniture that’s seen better days, don’t rush to throw it away. With some care and a little DIY magic, you can revive and restore its former glory. In this article, we’ll explore valuable tips and techniques for restoring old wooden furniture. Whether it’s a cherished heirloom or a flea market find, these DIY methods will help you bring back the beauty and character of your beloved pieces.
- Assessing the Condition:
Before you begin the restoration process, carefully assess the condition of your wooden furniture. Identify any visible damage, such as scratches, dents, or cracks. Check for loose joints or wobbly legs. Understanding the extent of the damage will help you determine the necessary repairs and treatments.
- Cleaning and Stripping:
Start the restoration process by thoroughly cleaning the furniture. Use a mild soap or wood cleaner and a soft cloth to remove dirt, grime, and any old finishes. For pieces with existing paint or varnish, stripping may be required. Follow the manufacturer’s instructions when using a paint stripper or varnish remover to strip away the old finish.
- Repairing and Sanding:
Repair any damaged areas or loose joints before moving on to sanding. Fill in cracks and gouges with wood filler, and use wood glue to secure loose joints. Once the repairs are complete, sand the entire surface of the furniture using a medium-grit sandpaper. Sanding will help smooth out imperfections, remove old finishes, and create a clean surface for refinishing.
- Choosing the Right Finish:
Consider the desired outcome and the type of wood when choosing a finish for your furniture. Options include varnish, stain, paint, or natural oil. Each finish provides a different look and level of protection. Test different finishes on a small, inconspicuous area of the furniture to determine the desired effect before applying it to the entire piece.
- Applying the Finish:
Follow the manufacturer’s instructions for applying the chosen finish. Use a brush, roller, or cloth, depending on the finish type. Apply multiple thin coats, allowing each coat to dry completely before adding the next. Sand lightly between coats to achieve a smooth and even finish.
- Finishing Touches:
After the final coat of finish has dried, consider adding some finishing touches to enhance the furniture’s appearance. This may include applying a protective wax or polish, adding new hardware or knobs, or even reupholstering cushions or seats.
Conclusion:
With these DIY tips for furniture restoration, you can transform your old wooden pieces into stunning focal points in your home. Assess the condition, clean, repair, and sand the furniture before choosing the right finish for your desired look. Take your time and enjoy the process of bringing new life to your cherished pieces. Remember, with a little patience and effort, your restored furniture will become a testament to your creativity and love for craftsmanship.
Note: It’s important to exercise caution when using tools, chemicals, and working with old furniture. Follow safety guidelines and wear appropriate protective gear. If you’re unsure about any aspect of the restoration process or dealing with valuable antique furniture, consult with a professional or restoration specialist for expert advice.
As an Amazon Associate we earn from qualifying purchases through some links in our articles.