If you’re tired of plastic bins stacked in teetering towers, digging through each one just to find that one tool or seasonal item—you’re not alone. That’s why I finally built a horizontal sliding tote rack for our garage, and it completely changed the way we organize our storage. No more clutter. No more frustration. Just a clean, easy-to-use system that actually looks good.
And yes—it’s easier to build than you think.

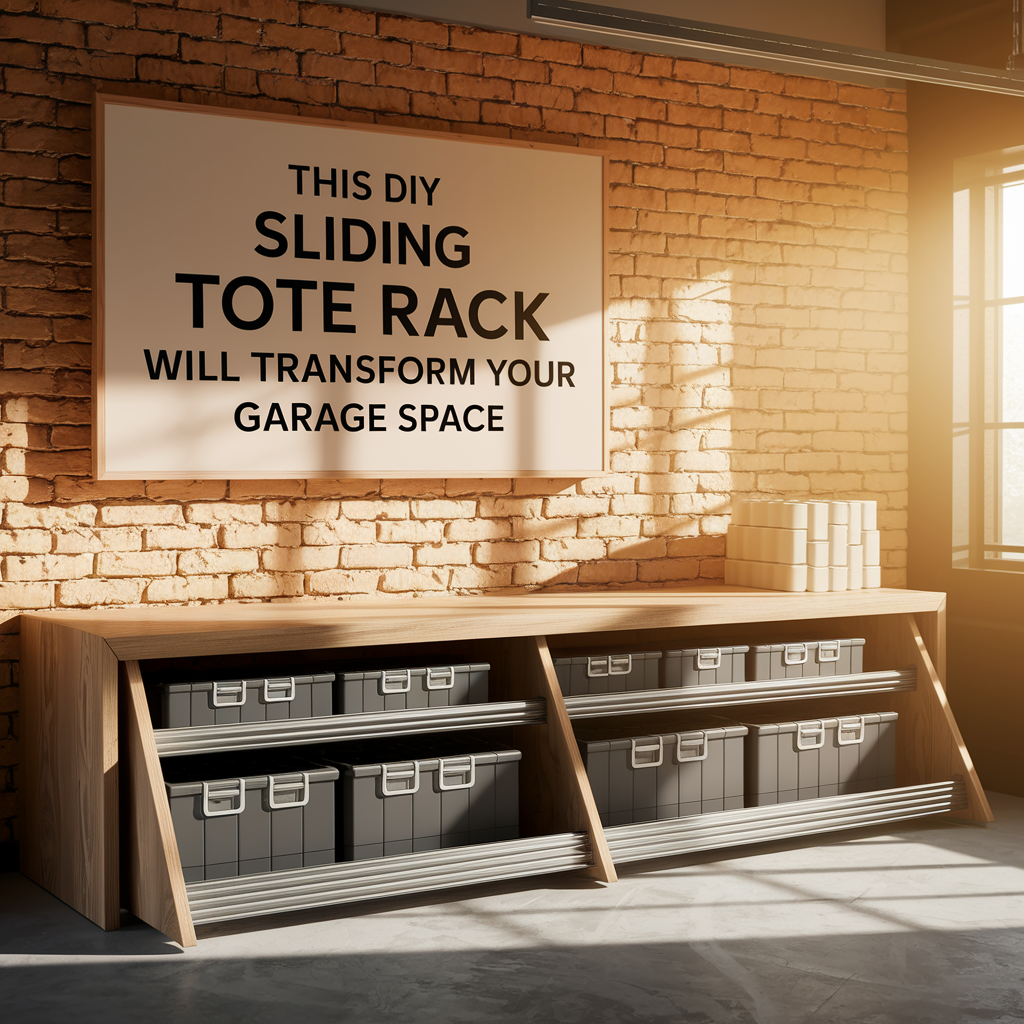
Why a Sliding Tote Rack Beats the Stacking Game
Plastic totes are great for organizing, but stacking them is a pain. You have to move multiple bins just to get to the bottom one, and things inevitably collapse or shift. This DIY sliding rack lets each tote slide into a cubby like a drawer. You can label them, access them instantly, and even color code them if you’re that kind of organized genius (I aspire to be).
Plus, it’s affordable. All you need is some 2×4 lumber, plywood, wood screws, and of course, the plastic bins you already have.
If you like that kind of no-nonsense DIY storage, you’ll love our guide on building strong and DIY basement shelves that actually hold weight.


Materials You’ll Need to Build It
Here’s what I used to build my sliding tote rack (measuring about 6-8 ft wide and 3 ft tall, with 2 or 3 rows depending on your ceiling height):
- 2×4 boards (about 6–10, depending on your dimensions)
- ¾” plywood (for shelf surfaces)
- Screws (3” and 1¼” wood screws)
- Drill + bits
- Tape measure, speed square, and level
- Circular saw or miter saw
- Your storage totes (measure them first!)
You’ll want to build around the totes you already have. Measure their height, width, and depth so the shelf spacing works just right. No sense building cubbies too small or wasting space making them oversized.
How to Build a DIY Sliding Tote Rack (Step-by-Step)
Step 1: Measure and Plan Your Layout
Use the largest tote you plan to store as your guide. Add at least 1″ of space on all sides for easy sliding. Decide how many rows and columns you want. I went with 2 rows and 4 bins across.
Step 2: Build the Frame
Lay out your horizontal top and bottom frames using 2x4s. Attach vertical supports at each tote width spacing. Think of this like building a big wooden cubby wall.
Need more ideas for garage frame structures? Check out how we built this DIY lawn chair rack using angled board hangers—super handy!
Step 3: Add Middle Supports
If you’re doing multiple rows of totes, add horizontal supports between the top and bottom. These act as the “shelves” the totes will sit on.
Make sure your supports are perfectly level—nobody wants bins that slide crooked.


Customize It With Tracks or Slides
If you want to get extra fancy, you can add UHMW plastic strips or even drawer slides so the totes slide even smoother. But honestly, I kept mine simple with just wood. It slides fine and costs less.
That’s the beauty of DIY—you control how much you spend and how detailed you want to go.

Make It Look Sharp (Optional)
If your tote rack is visible from your entryway or in a more finished garage space, you might want to paint or stain the wood. Even a coat of black or gray paint can give it that polished, custom-built look.
While you’re at it, consider a hidden hose storage planter if you’re doing garage-meets-yard storage. It’s one of our favorite multi-purpose outdoor builds.
Mounting to Wall vs. Freestanding
My build is freestanding with wide base support feet for stability. But if you’re tight on space or want extra security (especially in earthquake zones), consider anchoring it to wall studs. Just use L-brackets or long lag screws through the back frame.
You can also elevate your system entirely by going vertical with overhead garage storage racks, which are great for seasonal bins.


Maximize Your Tote System: Label, Rotate, Store Smart
Once the rack is up, label your totes clearly with what’s inside: Christmas lights, kids’ sports gear, garden tools, etc. I like using painter’s tape and a Sharpie for quick labels that I can replace anytime.
Bonus tip: rotate seasonal items. Keep winter stuff up top in summer, and vice versa. You’ll always have the things you need in reach.
Also check out our long-handled tool storage solution if your brooms, shovels, and rakes are a mess:
👉 DIY Long Hand Tool Storage 👈


Great For More Than Just the Garage
This sliding tote rack isn’t just for garage organization. I’ve seen versions used in:
- Basements
- Laundry rooms
- Garden sheds
- Utility closets
If you’re organizing an attic, don’t miss our clever attic pulley system project. It’s a game-changer for hard-to-reach spaces.
Want More DIY Storage Ideas?
We’ve got dozens of garage-friendly builds and home organization tips over at DIY Home Wizard. Some of our most popular include:
- Crafting sturdy shelving for tote storage
- How to create a welcoming entryway
- Our favorite affordable DIY tools and deals
- Ultimate tool guide for DIYers
- Rustic outdoor wood couch lounge with corner turn
You’re just one project away from a neater, smarter garage.
How to Secure the Tote Rack for Safety and Durability
Once you’ve built your horizontal wooden rack and slid the totes into place, the next step is securing the entire unit. You don’t want this thing shifting every time you grab a bin—especially if it’s packed with tools or seasonal décor. I mounted mine directly to the garage wall studs using 3″ lag screws, and it hasn’t budged since.
If your setup is freestanding, you’ll want to anchor the back frame to the concrete floor using masonry anchors or add rear support legs. Either way, stability is key, especially if kids are around. I also screwed in thin wooden stoppers at the back of each shelf level so the totes don’t accidentally get pushed too far and fall out the other side.
Tote Sizing Tips: Getting a Perfect Fit
Don’t just grab random totes and hope they slide in nicely. Measure twice, buy once.
I personally went with 27-gallon heavy-duty stackable bins—the kind you find at home improvement stores. They’re wide, deep, and built to last. My shelves have a clearance of about 16 inches high and just over 22 inches wide for each tote, giving just enough room to easily pull each one out while maximizing the space.
If your totes are smaller or taller, just adjust the shelf spacing and opening size. This is a project that adapts to your needs, not the other way around.
Labeling and Organizing Your Bins for Quick Access
After you build the rack and fill it with totes, it’s tempting to walk away and call it a win. But taking an extra 15 minutes to label each bin is a total game changer. I used chalkboard-style labels so I can change the contents easily—because let’s face it, we all reshuffle stuff.
You can organize by season (e.g., Christmas, Halloween), activity (e.g., camping, painting), or frequency of use (top row for rarely needed, bottom row for daily tools). Trust me—you’ll save yourself so much time not having to open every bin every time you need something.
Want to Take It a Step Further? Add Sliding Rails
This part is totally optional, but if you want a slick upgrade, you can install drawer-style rails or L-shaped metal brackets under each shelf. It turns your sliding tote rack into something that feels like a custom cabinet system.
I used simple 1×2 strips of wood on the inner side walls of the rack to act as basic guides. For a smoother glide, adhesive felt strips or plastic edging can reduce friction. It’s a little extra work, but wow—it makes a difference when you’re hauling out a heavy bin.
As an Amazon Associate we earn from qualifying purchases through some links in our articles.