Frozen pipes: the dreaded winter woe every homeowner hopes to avoid but many end up facing. If you’ve ever turned on a faucet only to hear… nothing, you know the sinking feeling that comes with the realization that your pipes may be frozen. It’s not just inconvenient—it can lead to expensive repairs if those pipes decide to burst.
The good news? You don’t have to panic. Whether it’s a quick DIY fix or knowing when to call in the pros, understanding what to do for frozen pipes can save your home—and your wallet. Let’s dive into everything you need to know to stay one step ahead of Old Man Winter.

Signs Your Pipes Are Frozen
So, how do you know if your pipes are frozen? It’s not like they come with a flashing neon sign saying, “Help me!” But there are some telltale signs you can look out for before things get messy.
Common Symptoms of Frozen Pipes:
- No Water Flow: If you turn on a faucet and nothing (or just a tiny trickle) comes out, it’s a major red flag.
- Unusual Noises: Hearing weird clanking or gurgling when you turn on the faucet? Your pipes could be crying for help.
- Frost on Pipes: If you can see frost or ice buildup on exposed pipes, it’s a pretty clear sign they’re frozen.
- Odd Smells: Sometimes, a frozen pipe can block your drain, causing unpleasant odors to back up into your sink or shower.
Before jumping to conclusions, rule out other plumbing issues. For instance, a clogged sewer vent pipe can also cause unusual smells and slow drainage. Knowing the difference can save you time and effort.
Catching frozen pipes early can make a huge difference in preventing serious damage—so don’t ignore these warning signs!
What to Do If Your Pipes Are Frozen
Alright, so your pipes are frozen. First things first: don’t panic. You can fix this without turning your home into a water park. Acting quickly and safely is the key to minimizing damage and avoiding a burst pipe.
Step-by-Step Guide to Thawing Frozen Pipes:
- Turn on the Faucet: Open the faucet connected to the frozen pipe. This helps relieve pressure and allows water to start flowing once the ice begins to melt.
- Apply Heat: Use a hair dryer, heating pad, or warm towels to gently heat the pipe. Start at the faucet and work your way toward the frozen section.
- Never Use an Open Flame: Resist the urge to grab a blowtorch. It’s not only dangerous but could also damage your pipes.
- Keep Cabinet Doors Open: If the pipe is under a sink, open the cabinet doors to let warm air circulate around it.
- Monitor for Leaks: Once the pipe is thawed, check for cracks or leaks that might have formed while it was frozen.
If your DIY efforts aren’t working or you notice any leaks, it’s time to call a plumber. Sometimes frozen pipes are just too stubborn to handle alone. For more detailed advice, check out this handy guide: What to Do When Your Pipes Freeze.
Acting quickly and using safe methods can save you from dealing with a burst pipe and the chaos that follows. Be proactive, and your pipes—and wallet—will thank you.
How Long Can Pipes Stay Frozen Before Bursting?
Frozen pipes don’t come with a built-in timer, but here’s the deal: the longer they stay frozen, the higher the risk of them bursting. When water freezes, it expands, creating pressure inside the pipe. If that pressure has nowhere to go, the pipe can crack or burst, leading to a very wet and expensive mess.
Factors That Influence How Long Pipes Can Stay Frozen:
- Pipe Material: PVC and copper pipes have different breaking points, with copper generally holding up better under pressure.
- Temperature: The colder it is, the faster the ice expands, which means your frozen pipe is on borrowed time during a deep freeze.
- Water Flow: If you’ve left a faucet dripping, the moving water can relieve some pressure, buying you more time.
The Critical Window:
In most cases, pipes that remain frozen for more than 6-8 hours are at high risk of bursting. This is why thawing them promptly (using the steps in the previous section) is crucial.
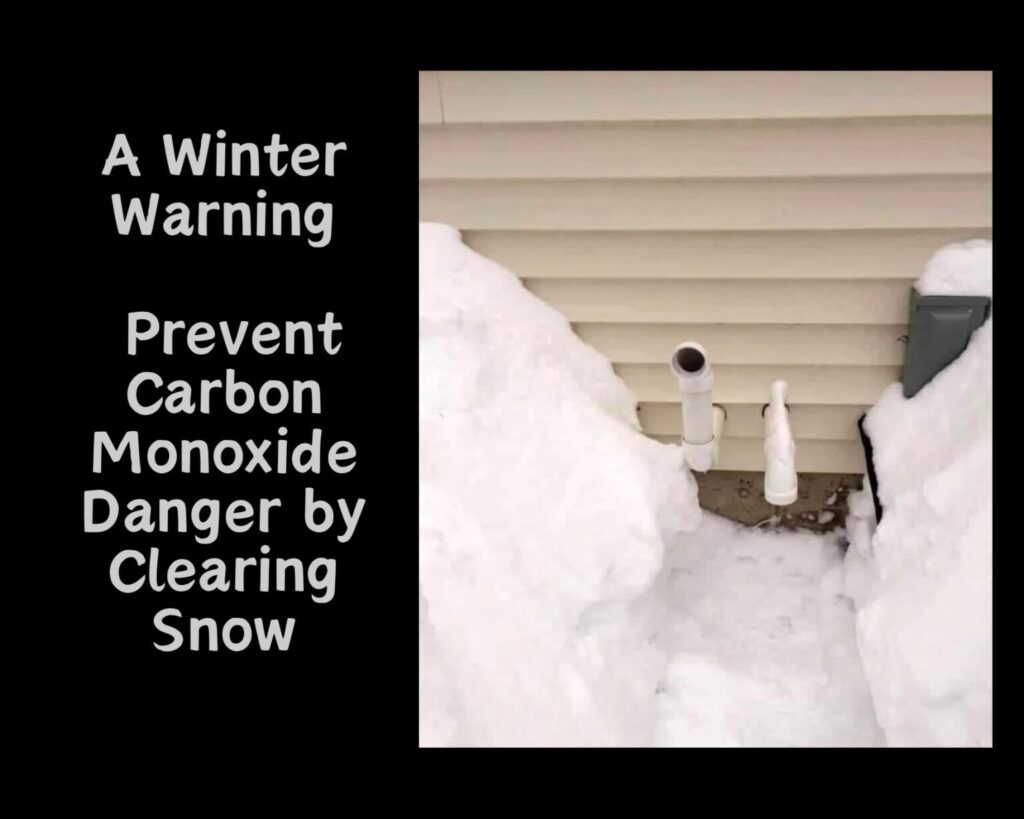
Don’t wait and hope for the best—act swiftly to prevent costly damage. While you’re at it, keep an eye out for other winter hazards, like snow blocking your home’s exhaust pipes. Read more about protecting your home in winter with Prevent Carbon Monoxide Danger by Clearing Snow.
Will Frozen Pipes Thaw on Their Own?
Yes, frozen pipes can thaw on their own—if you’re lucky and the weather warms up. But here’s the problem: waiting for Mother Nature to do the job can lead to bigger issues, like burst pipes or water damage. The risk of additional pressure building up while you wait often outweighs the convenience of letting them thaw naturally.
Why Waiting Isn’t Always Wise:
- Prolonged Freezing: Pipes exposed to freezing temperatures for too long are more likely to crack or burst.
- Uncontrolled Thawing: When pipes thaw naturally, the sudden rush of water can expose leaks you didn’t know were there.
- Unpredictable Weather: Winter doesn’t always warm up quickly—waiting days or weeks can turn a minor problem into a disaster.
A Better Approach:
Instead of waiting, use safe thawing methods like a hair dryer, heating pad, or space heater. Keep the faucet open to relieve pressure, and monitor the pipe as it thaws. If you’re unsure or dealing with stubbornly frozen pipes, calling a plumber is always a good backup plan.
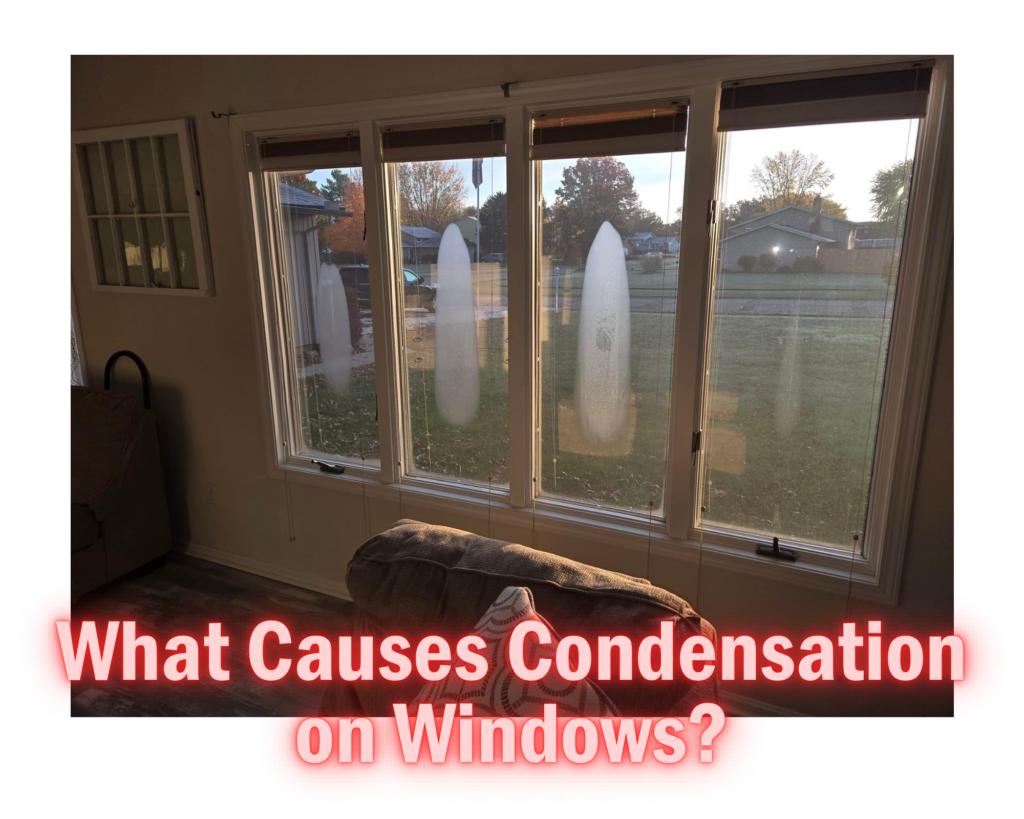
If you’re curious about other common winter household issues and how to address them, check out What Causes Condensation on Windows? for tips on preventing cold-weather headaches. Taking action sooner rather than later will save you time, stress, and money.

Common Myths About Frozen Pipes
When it comes to frozen pipes, misinformation spreads faster than ice on a January morning. Let’s bust a few of the most common myths so you don’t waste time—or worse, damage your pipes.
Myth #1: Pouring Hot Water Down the Drain Will Fix Frozen Pipes
Reality: Hot water might seem like an easy fix, but it often doesn’t reach the frozen section of the pipe. Worse, it can cause cracks or weaken seals if the pipe expands too quickly. Instead, stick to gradual heating methods like using a hair dryer or warm towels.
Myth #2: Pipes Will Always Burst if They Freeze
Reality: Frozen pipes don’t always burst, but the risk increases the longer they stay frozen. Burst pipes happen when the pressure from expanding ice has nowhere to escape. Leaving faucets open while thawing helps release that pressure.
Myth #3: Only Outdoor Pipes Freeze
Reality: Pipes inside uninsulated walls, crawl spaces, or garages are just as vulnerable, especially if temperatures drop significantly. Keeping cabinet doors open and your thermostat consistent can help prevent this.
Myth #4: Only Professionals Can Thaw Pipes Safely
Reality: While it’s always good to call a plumber if you’re unsure, many frozen pipes can be safely thawed using household tools like heating pads and hair dryers. Just avoid using open flames, which can damage pipes and create fire hazards.
Understanding what not to do is just as important as knowing the right steps. For more tips to stay on top of winter maintenance, check out Developing a Home Maintenance Plan for DIY Projects and keep your home running smoothly all season long.

How to Prevent Frozen Pipes
The best way to deal with frozen pipes? Don’t let them freeze in the first place. A little prevention goes a long way in saving you from the hassle, stress, and expense of dealing with frozen or burst pipes.
Easy Steps to Prevent Frozen Pipes:
- Seal Doors and Windows: Drafty areas can let in freezing air. Use weatherstripping or caulking to seal gaps around windows and doors.
- Keep Your Thermostat Consistent: Set your thermostat to at least 55°F, even at night or when you’re away. This helps maintain a steady temperature to protect your pipes.
- Let Faucets Drip: Allowing a small trickle of water to flow keeps pressure from building up and helps prevent freezing.
- Open Cabinet Doors: If you have pipes under sinks, especially those on exterior walls, keep the cabinet doors open to let warm air circulate.
- Insulate Exposed Pipes: Use foam pipe insulation on pipes in crawl spaces, basements, and attics to add a layer of protection.
- Keep Garage Doors Closed: If you have pipes running through your garage, keep the door closed to retain heat.
Taking proactive steps doesn’t just protect your pipes—it protects your wallet from costly repairs. For additional winterizing tips, check out Winter Warning: Prevent Carbon Monoxide Danger by Clearing Snow to ensure your home is fully prepared for cold weather challenges.
Frozen Pipes in Mobile Homes
Mobile homes can be especially vulnerable to frozen pipes due to their elevated design and lack of insulation around plumbing. However, with some extra precautions, you can prevent frozen pipes and avoid costly repairs.
Why Mobile Homes Are at Higher Risk:
- Exposed Pipes: Many mobile homes have plumbing located in crawl spaces or under the home, where pipes are exposed to cold air.
- Limited Insulation: Pipes in mobile homes often lack the protective insulation found in traditional homes.
How to Protect Pipes in Mobile Homes:
- Skirting Installation: Ensure that the skirting around your mobile home is intact and properly sealed to block cold air.
- Pipe Insulation: Use foam pipe insulation or heat tape on exposed pipes to keep them warm.
- Add a Heat Source: Place a small space heater in areas prone to freezing, like crawl spaces, but always follow safety guidelines.
- Let Faucets Drip: Keep a small stream of water flowing to prevent pressure buildup.
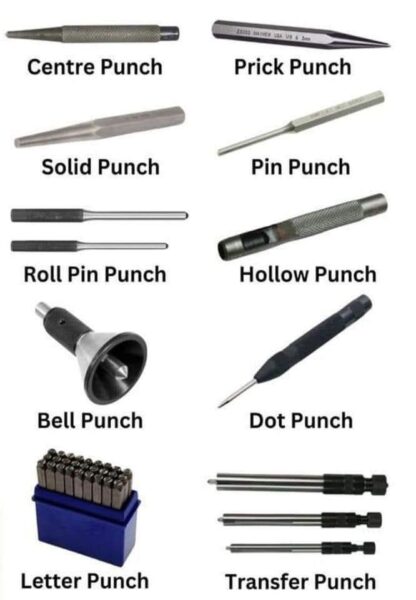
Frozen pipes in mobile homes can be a headache, but these measures go a long way in reducing the risks. If you’re tackling more DIY maintenance tasks in your home, Top Tools for Every DIY Enthusiast can help you stock up on the essentials for a smooth winter season.
Should You Call a Plumber for Frozen Pipes?
Sometimes, despite your best efforts, frozen pipes can be more than a DIY fix. Knowing when to call a plumber can save you from turning a manageable problem into a full-blown disaster.
When to Call a Professional:
- No Success with Thawing: If you’ve tried thawing your pipes and nothing is working, it’s time to bring in the experts.
- Visible Leaks: If you notice water dripping or pooling after thawing, your pipe may have cracked and needs professional repair.
- Repeated Freezing Issues: Persistent freezing could indicate a bigger problem, like poor insulation or improper installation, that needs a long-term solution.
- Burst Pipes: This is an emergency—shut off your water supply immediately and call a plumber to prevent extensive water damage.

Preventative Tip:
If you need to call a plumber, ask them to assess your plumbing system for vulnerabilities. They can recommend upgrades like better insulation or relocating exposed pipes.
While it’s tempting to handle everything yourself, sometimes professional help is the best option. And while you’re thinking about home maintenance, consider reading Developing a Home Maintenance Plan for DIY Projects to stay ahead of future issues and keep your home running smoothly year-round.

Dealing with frozen pipes isn’t fun, but knowing what to do for frozen pipes can make the difference between a minor inconvenience and a major disaster. Acting quickly, using safe thawing methods, and taking preventative steps can protect your home from costly damage.
The key is preparation. By insulating pipes, sealing drafts, and keeping your thermostat steady, you can significantly reduce the risk of freezing. And if things do go wrong, remember to stay calm, follow the proper steps, and don’t hesitate to call a plumber when needed.

For more winter home care tips, explore What to Do When Your Pipes Freeze or check out Developing a Home Maintenance Plan for DIY Projects to keep your home safe and sound all year long. Winter might be harsh, but with a little knowledge and preparation, you’ll be ready for whatever it throws your way!

As an Amazon Associate we earn from qualifying purchases through some links in our articles.

