Bathroom paint peeling after just one year? You’re not alone — and it’s almost never the paint’s fault. Here’s exactly why it happens and how to fix it so it never peels again.
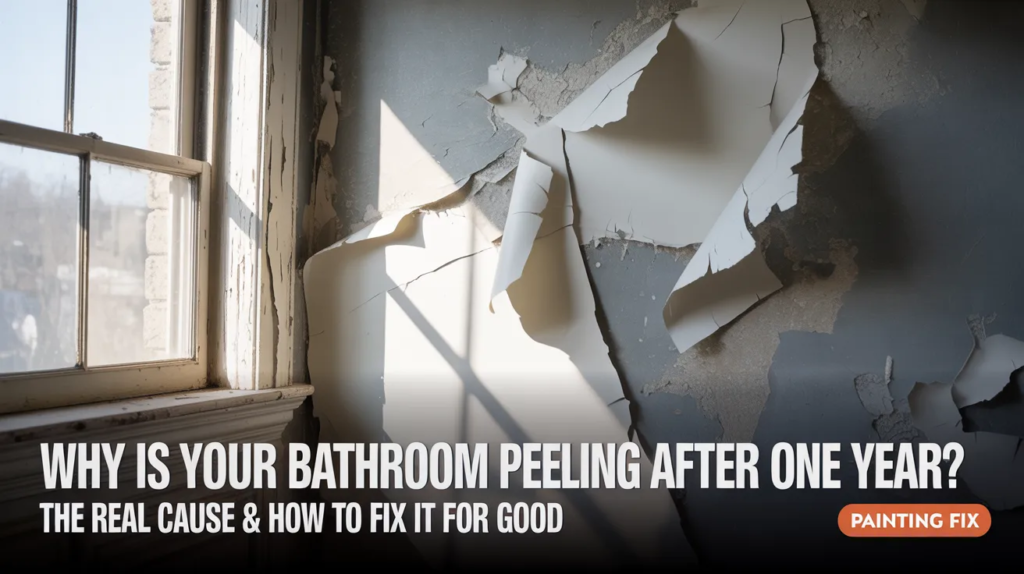
Quick Answer: Bathroom paint peeling after just one year is almost always caused by excess moisture and humidity — not bad paint. The real culprits are poor ventilation, skipping primer, painting over a surface that wasn’t properly cleaned or dried, or using the wrong type of paint. Fix the moisture problem first, prep the surface correctly, and use a true bathroom-grade paint — and your paint job will last for years.
You painted your bathroom less than a year ago. You picked a decent paint, spent a weekend doing it right, and it looked great. Now the paint is bubbling, cracking, or peeling off in sheets — and you’re wondering what went wrong.
I’ve been there. It’s one of the most frustrating things a homeowner can experience because it feels like wasted time and money. But here’s the thing — it almost certainly wasn’t the paint’s fault, and it probably wasn’t your technique either.
The real culprit is almost always moisture. And once you understand that, the fix becomes very straightforward.
This guide walks you through exactly why bathroom paint peels, how to fix it properly, and — most importantly — how to make sure it never happens again.
Why Bathrooms Are a Nightmare for Paint
Your bathroom is the most hostile environment in your entire home for paint. Think about what happens in there every single day:
Hot showers generate steam that raises humidity levels to 90% or higher in minutes. That moisture has to go somewhere. It condenses on your walls, seeps into the paint film, gets behind it, and slowly destroys the bond between the paint and the surface underneath.
Do this once a day for 12 months and even a decent paint job starts to fail.
The problem isn’t unique to cheap paint or DIY work — professional painters deal with peeling bathroom paint all the time when the underlying moisture issue isn’t addressed first. Understanding that moisture is the enemy changes how you approach everything from prep to paint selection.
The 6 Real Reasons Your Bathroom Paint Is Peeling
1. Poor or No Ventilation
This is the single most common cause of peeling bathroom paint — by a wide margin.
If your bathroom exhaust fan is undersized, old, noisy but not actually moving air, or if you simply don’t run it long enough after showers, moisture has nowhere to escape. It lingers in the air, settles on walls, and works its way behind the paint film over and over again until the paint gives up.
A proper exhaust fan should run during your shower AND for at least 15 to 20 minutes afterward. Most people turn it off the moment they leave the bathroom. That’s not nearly enough time to clear the moisture.
2. No Primer — Or the Wrong Primer
Skipping primer in a bathroom is one of the most expensive shortcuts a homeowner can take. Primer does two critical things: it seals the surface so moisture can’t penetrate easily, and it gives the paint a strong mechanical bond to grip onto.
Without primer, paint in a high-humidity room like a bathroom is essentially just sitting on the surface rather than bonded to it. When moisture gets in, there’s nothing holding it in place.
Even worse — using an interior wall primer instead of a bathroom-specific moisture-blocking primer gives you false confidence. Not all primers are created equal.
3. Painting Over a Dirty, Oily, or Wet Surface
Paint needs a clean, dry, properly prepared surface to bond correctly. Bathroom walls accumulate soap residue, body oils, cleaning product film, and mildew — all of which prevent proper adhesion.
If you wiped down the walls quickly and painted the same day, or painted over any surface that still had the slightest moisture in it, you’ve already lost the battle before the first stroke of paint was applied.
I made this mistake myself early on — thought a quick wipe with a damp cloth was good enough prep. Peeling started within 8 months. Never again.
4. Using the Wrong Type of Paint
Not all paints are suitable for bathrooms. Standard interior flat or eggshell paint has very low moisture resistance. In a bathroom it will absorb humidity like a sponge and begin to break down, blister, and peel.
Bathroom walls need paint with at least a satin or semi-gloss finish — both of which have higher sheen levels that repel moisture much more effectively. Ideally you want a paint specifically formulated for kitchens and bathrooms with mold and mildew resistance built in.
Check out our guide on Expert Guide: Best Paint for Kitchen Cupboards for a deeper look at moisture-resistant paint options that also apply to bathroom walls.
5. Existing Mold or Mildew Under the Paint
If your walls had any mold or mildew on them before you painted — even just a little that you thought you cleaned off — that mold is still alive underneath your paint. It continues to grow, and as it spreads it physically pushes the paint film away from the surface.
Mold under paint is one of those problems that hides perfectly for 6 to 9 months and then seemingly appears overnight. By the time you see peeling, the mold colony underneath is already well established.
6. Old Paint Layers That Were Already Failing
If you painted over an existing paint job that was already starting to lose adhesion, your new paint had nothing solid to bond to. The new layer is only as strong as whatever it’s stuck to — and if that base layer was failing, it’s only a matter of time before everything comes down together.


How to Diagnose Your Specific Problem
Before ripping off paint and starting over, spend a few minutes figuring out exactly which issue you’re dealing with.
Check your exhaust fan first.
Hold a piece of toilet paper up to the fan grille while it’s running. If it barely moves or falls away, your fan isn’t doing its job. This is your most likely culprit and the easiest fix.
Look at where the peeling is worst.
Peeling concentrated near the ceiling or directly above the shower points strongly to moisture and ventilation. Peeling near the floor or baseboards can indicate water intrusion from below or a leak.
Check behind the peeling paint.
Carefully lift a piece of peeling paint. Is the surface underneath dark, discolored, or fuzzy? That’s mold. Is it damp or soft? Moisture penetration. Is it powdery or crumbly? The old surface wasn’t properly prepared.
Smell test.
A musty smell behind peeling paint almost always means mold. Don’t just repaint over it — you need to treat it first.
How to Fix Peeling Bathroom Paint the Right Way
This is a job worth doing correctly once rather than quickly twice. Here’s the proper process:
Step 1: Fix the Ventilation Problem First
Before touching the paint, address the root cause. If your exhaust fan is inadequate, replace it or supplement it. A properly sized bathroom exhaust fan is rated in CFM (cubic feet per minute) — for most standard bathrooms you want at least 50 CFM, and for larger bathrooms 80–110 CFM.
Also establish the habit of running the fan for 20 minutes after every shower. Some homeowners put their fan on a timer switch so it happens automatically. This single habit change can extend the life of a bathroom paint job by years.
While you’re thinking about air quality and humidity in your home, check out our guide on Understanding the Causes of High Humidity in Your Home — humidity issues in one room often signal a bigger picture problem.
Step 2: Remove ALL the Peeling Paint
Don’t try to paint over peeling paint. It won’t work. Use a paint scraper to remove every piece of loose, bubbling, or peeling paint from the affected areas. Be thorough — any paint that’s starting to lift but hasn’t fully peeled yet needs to come off too.
If you find yourself removing large sections, you may be looking at a full repaint rather than a spot repair. That’s okay — doing it right now saves you from doing it again in 6 months.
Step 3: Treat Any Mold or Mildew
If you found mold or mildew under the paint, treat it before doing anything else. Mix a solution of one part bleach to three parts water and scrub the affected area thoroughly. Let it dry completely — and we mean completely. At least 24 to 48 hours with good airflow.
For stubborn mold situations check out our article on How to Repair Water Damaged Drywall and Prevent Future Issues which covers what to do when moisture damage goes deeper than the paint surface.
Step 4: Sand and Feather the Edges
Where you’ve removed paint, the edges will be raised and visible under new paint. Use 120-grit sandpaper to feather those edges smooth so the repair blends seamlessly into the surrounding wall.
Wipe down the entire area with a slightly damp cloth to remove dust, then let it dry completely.
If you have any holes or gouges in the drywall from the scraping process, our guide on Mastering the Art of Drywall Repair walks you through patching those before painting.
Step 5: Clean the Surface Thoroughly
This is the step most people rush — and the one that matters most for adhesion.
Wash the walls with a TSP substitute cleaner or a mixture of dish soap and warm water to remove all soap scum, oils, and residue. Rinse well and let the surface dry for at least 24 hours. In a bathroom, 24 hours with the exhaust fan running is the minimum. 48 hours is better.
Step 6: Apply a Moisture-Blocking Primer
Use a shellac-based or high-quality water-based moisture-blocking primer specifically rated for bathrooms and high-humidity areas. Apply it to the repaired areas at minimum — ideally to the entire wall if you’re doing a full repaint.
Let the primer dry fully according to the manufacturer’s instructions. Do not rush this step.
Step 7: Apply Bathroom-Grade Paint in Satin or Semi-Gloss
Choose a paint specifically formulated for kitchens and bathrooms — one with built-in mildew resistance. Apply it in satin or semi-gloss finish minimum.
Apply two coats, letting each coat dry fully between applications. Thin, even coats always outperform thick ones for adhesion and durability.
For tips on getting a flawless finish on walls, our article How Repainting a Room Can Make It Look Bigger and Nicer has some great technique tips that apply perfectly to bathrooms.


Products That Actually Help
A few things that make a real difference in bathroom paint longevity:
Exhaust fan timer switch — Automatically runs the fan for a set time after you leave the bathroom. Set it and forget it.
Moisture-blocking primer — KILZ or Zinsco shellac-based primers are trusted by professional painters for high-humidity environments.
Bathroom-specific paint — Look for paints marketed specifically for kitchens and bathrooms with antimicrobial additives.
Dehumidifier — If your bathroom has particularly severe moisture problems, a small dehumidifier running periodically makes a significant difference. See our picks for managing home humidity in Breathe Easy: The Importance of Regular HVAC Filter Maintenance.

How to Prevent Bathroom Paint From Peeling Again
Once you’ve done the repair correctly, protect your investment:
Run the exhaust fan every single shower — and for 20 minutes after. Non-negotiable.
Wipe down walls after hot showers — A quick squeegee or towel wipe on the walls takes 30 seconds and dramatically reduces moisture accumulation.
Keep the bathroom door open after showering — Allows moisture to dissipate into a larger air volume.
Inspect caulking annually — Failed caulk around the tub, shower, and sink allows water to get directly behind walls. Recaulk whenever you see cracking or separation.
Add bathroom paint care to your maintenance plan — Small touch-ups every year or two are far cheaper than a full repaint. Our Home Maintenance Plan guide helps you stay on top of exactly these kinds of tasks before they become expensive.
According to the EPA’s guide on mold and moisture, controlling moisture is the single most effective way to prevent mold growth and the surface damage that comes with it — which applies directly to bathroom paint longevity.
Stain vs Paint — Does It Matter in a Bathroom?
Occasionally homeowners ask whether a stain might hold up better than paint in a bathroom. For walls the answer is no — stains are designed for wood surfaces and don’t provide the washable, moisture-resistant finish you need on drywall. For more on understanding the difference check out our article Stain vs Paint: Which Lasts Longer and Stain vs Paint: Understanding the Differences.


Related Articles Worth Reading
- Mastering the Art of Drywall Repair — DIY Tips for Flawless Walls
- How to Repair Water Damaged Drywall and Prevent Future Issues
- How to Fix a Large Drywall Hole Caused by Children
- Paint Tricks to Make Your Room Look Bigger Instantly
- DIY Home Improvement Ideas


Frequently Asked Questions
Q: Can I just paint over peeling bathroom paint?
A: No — and this is the mistake that leads to peeling again within months. Paint over peeling paint and you’re just adding another layer that has nothing solid to bond to. Remove all the loose paint, prep the surface properly, prime, then repaint. Do it right once.
Q: What is the best paint finish for a bathroom?
A: Satin or semi-gloss. Both have enough sheen to repel moisture effectively while still looking attractive on walls. Flat and eggshell finishes absorb moisture and are not suitable for bathrooms regardless of paint quality.
Q: How long should bathroom paint last?
A: With proper prep, a moisture-blocking primer, quality bathroom paint, and good ventilation habits, a bathroom paint job should last 5 to 7 years easily. Peeling within a year always points to a prep, ventilation, or product issue.
Q: Does peeling bathroom paint mean I have mold?
A: Not always, but it’s common. If you see dark staining under the peeling paint, notice a musty smell, or find soft/discolored drywall beneath, mold is likely present and needs to be treated before repainting.
Q: How do I stop my bathroom ceiling paint from peeling?
A: Ceiling paint peeling in a bathroom is almost always a ventilation problem — steam rises and sits at the ceiling first. Fix or upgrade your exhaust fan, use a ceiling-rated moisture-resistant paint, and apply a shellac-based primer before painting. Make sure the fan runs during and 20 minutes after every shower.

The Bottom Line
Bathroom paint peeling after one year is frustrating — but it’s fixable, and it’s preventable. The problem almost always comes down to moisture, ventilation, inadequate primer, or surface prep that was rushed.
Fix the ventilation first. Remove the failing paint completely. Treat any mold. Prep the surface thoroughly. Prime with a moisture-blocking primer. Then paint with a bathroom-grade satin or semi-gloss.
Do it in that order and your bathroom paint will still be looking great five years from now.
Find this helpful? Browse all of our painting and home repair guides at DIY Home Wizard — written by real DIYers for real homeowners.
AUTHOR BIO
Dax is a DIY homeowner and the founder of DIY Home Wizard. With many years of hands-on home repair experience, he created this site to help everyday homeowners tackle common problems with confidence — without always reaching for the phone to call a contractor.
As an Amazon Associate we earn from qualifying purchases through some links in our articles.