A stylish toilet paper holder may seem like a small detail, but it can make a big difference in your bathroom’s overall look. Instead of settling for a generic store-bought holder, why not create your own? A DIY toilet paper holder is an easy, affordable project that adds personality, function, and style to your space.

This guide will walk you through everything you need to know about building your own toilet paper holder, from choosing the right materials to step-by-step assembly. Whether you prefer a rustic, industrial, farmhouse, or modern look, this project is fully customizable to match your bathroom’s decor.
Why Build a DIY Toilet Paper Holder?
Creating your own toilet paper holder isn’t just about saving money—it’s about adding a unique touch to your home. Here’s why it’s worth the effort:
- Customization – Choose materials and finishes that match your style.
- Cost-Effective – DIY is often cheaper than buying high-end bathroom accessories.
- Better Durability – Store-bought holders can feel flimsy, but a handmade version can last longer.
- Satisfaction – There’s something rewarding about building something yourself that’s both stylish and functional.
Materials You’ll Need for Your DIY Toilet Paper Holder
The materials you choose will depend on the style of holder you want to create. Below are some popular options:
For a Rustic or Industrial Look:
- Black iron pipe fittings (elbows, flanges, and pipe sections)
- Wood backing (stained or painted)
- Wall anchors and screws
For a Farmhouse Style:
- Reclaimed wood
- Metal hooks or brackets
- Jute rope (for a hanging holder)

For a Minimalist or Modern Look:
- Brass or copper piping
- Acrylic or matte black brackets
- Floating wall mount hardware
Other Tools You’ll Need:
- Drill and screws
- Saw (if cutting wood)
- Measuring tape and level
- Sandpaper (for smoothing edges)
Once you’ve gathered your materials, it’s time to choose your design and start building!


Step 1: Choose Your DIY Toilet Paper Holder Design
Before you start assembling, decide on a design that fits your bathroom style. Here are a few creative ideas:
- Wall-Mounted Pipe Holder – Perfect for industrial or rustic decor, this involves attaching a black iron pipe to a wooden base or directly to the wall.
- Hanging Rope Holder – Ideal for farmhouse-style bathrooms, this uses a thick rope and metal hooks to create a simple yet stylish design.
- Floating Shelf with Holder – A sleek, modern option that combines a small wooden shelf with a built-in toilet paper holder underneath.
- Freestanding Wooden Stand – Great for renters, this option lets you create a portable holder without drilling into walls.
Once you’ve picked a design, you can start assembling!
Step 2: Measure and Cut Your Materials
Accurate measurements are key to a clean and professional look.
- If you’re mounting on a wall, make sure the height is comfortable for easy access.
- For a freestanding holder, ensure stability so it doesn’t tip over.
- Use a level to make sure everything is straight before drilling.
Cut wood to size if needed, and sand down rough edges to prevent splinters.


Step 3: Assemble Your DIY Toilet Paper Holder
For a Pipe-Fitting Holder:
- Attach the flange to the wall or wooden backing using screws.
- Screw in the pipe section and elbow fitting to hold the toilet paper roll.
- Tighten everything securely and mount it on the wall.
For a Hanging Rope Holder:
- Cut a piece of thick jute rope to the desired length.
- Loop it through a metal bracket or hook mounted on the wall.
- Secure the rope with knots or metal clamps and hang the toilet paper roll.
For a Floating Shelf with a Holder:
- Attach a small wooden shelf to the wall using brackets.
- Screw in a metal bar or wooden dowel underneath to hold the toilet paper roll.
- Ensure everything is secure and level before use.

Step 4: Add the Finishing Touches
To make your DIY toilet paper holder look polished and professional, consider these final touches:
- Stain or paint wooden elements to match your bathroom’s color scheme.
- Use matte black, copper, or gold spray paint to give metal parts a high-end look.
- Attach a small shelf or storage box above the holder for extra convenience.
If you love adding custom elements to your home, check out Creating a Rustic Industrial Bathroom Vanity for another stylish DIY project!
Step 5: Install and Enjoy Your Stylish Toilet Paper Holder
Once everything is assembled and finished, it’s time to install your new toilet paper holder. Make sure it’s:
- Securely mounted (if attaching to the wall)
- Properly balanced (if freestanding)
- Easily accessible for use
Enjoy your custom creation and admire how a simple DIY project can upgrade your bathroom!


Final Thoughts on DIY Toilet Paper Holders
A DIY toilet paper holder is an easy, affordable, and stylish way to personalize your bathroom. Whether you prefer a rustic, modern, or farmhouse design, this project is fully customizable to match your taste.
If you’re looking for more bathroom and home DIY upgrades, check out:
- How to Unclog a Drain With Hair: The Best DIY Solutions – Keep your new bathroom setup running smoothly.
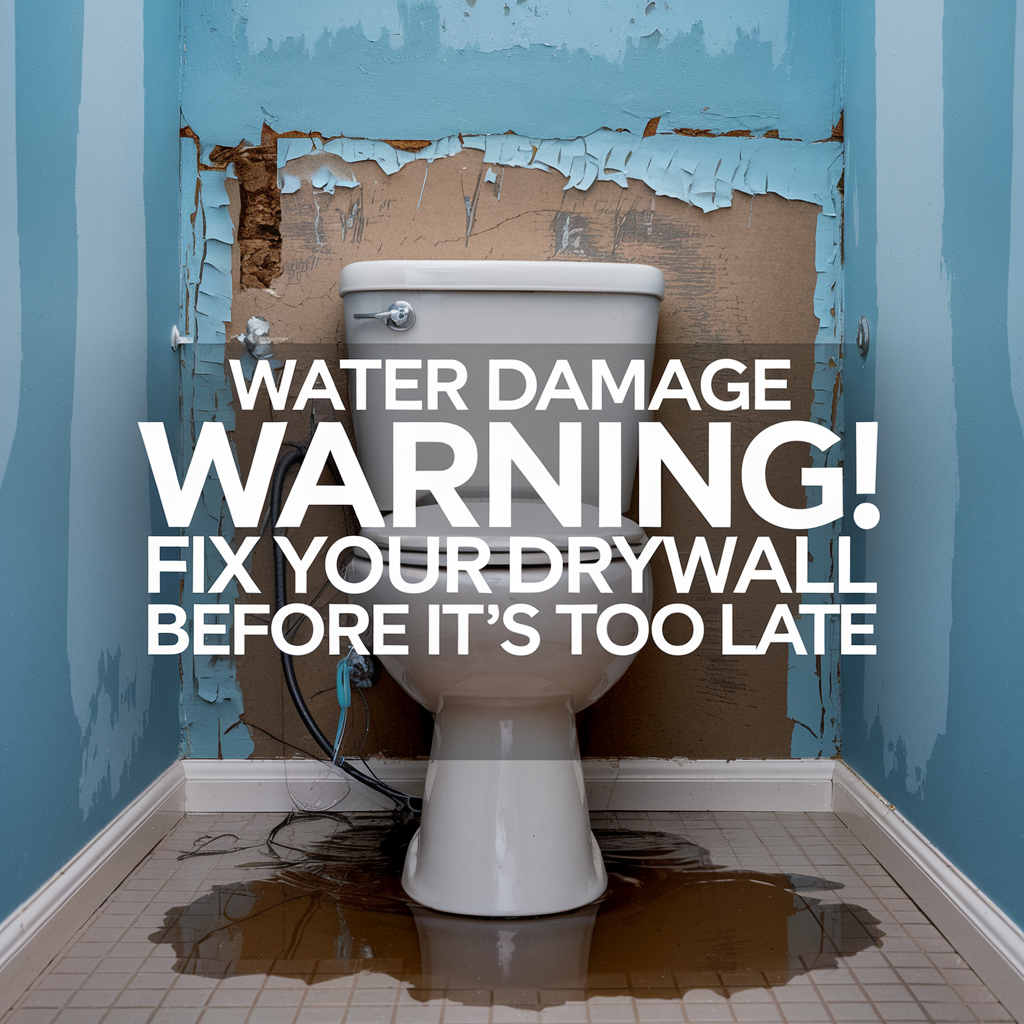
- How to Repair Water-Damaged Drywall and Prevent Future Issues – If you’re drilling into drywall, make sure it’s in good shape first.
- DIY Ideas for Creating Soft and Serene Lighting Decor – Add cozy lighting to enhance your bathroom ambiance.
With just a few materials and simple steps, you can create a stylish toilet paper holder that’s both functional and visually appealing. Ready to give it a try? Grab your tools and start building!
As an Amazon Associate we earn from qualifying purchases through some links in our articles.