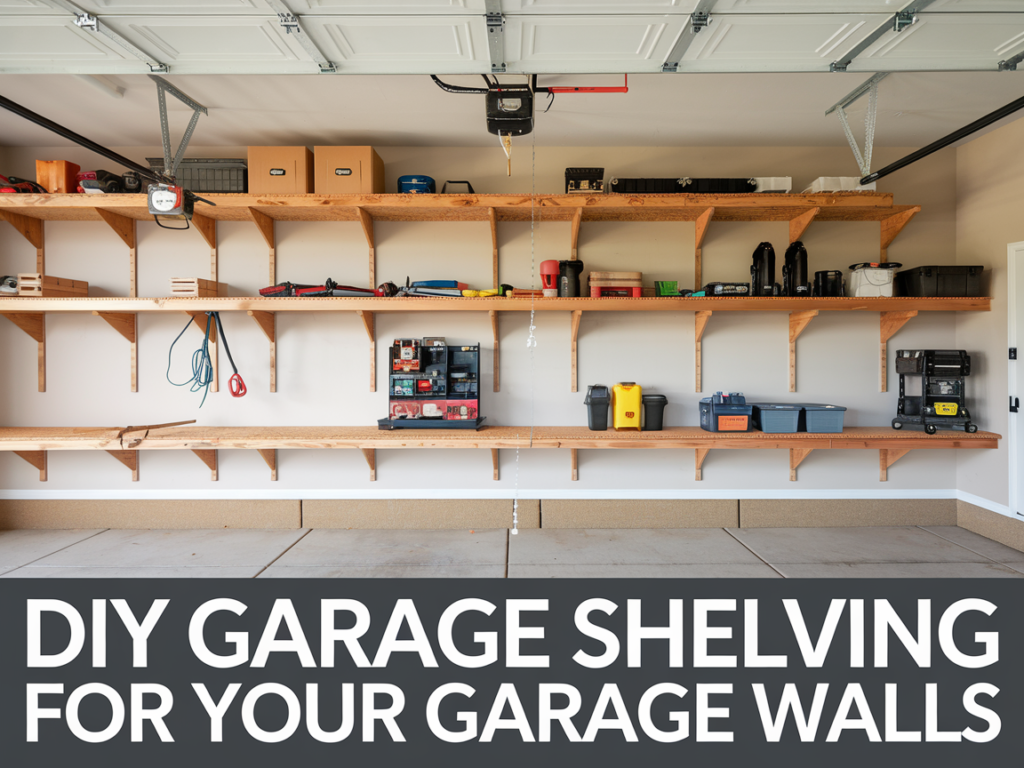
Every homeowner knows that a garage can easily become a catch-all space for unused items, seasonal gear, and miscellaneous tools. One of the best ways to combat this clutter and make the most out of your garage space is by installing a high wall shelf. By utilizing the upper walls of your garage, you can free up floor space and keep things organized. Here’s a step-by-step guide to help you construct a sturdy shelf high up on your garage wall.


What Are the Best Materials for DIY Garage Shelving?
Choosing the right materials for your DIY garage shelving is key to ensuring durability and strength. Since garages are exposed to temperature fluctuations and humidity, your shelving must be sturdy, moisture-resistant, and capable of holding heavy loads.
Wood vs. Metal: Which Is Better?
- Plywood or 2×4 Lumber – Great for budget-friendly shelving, but untreated wood can absorb moisture over time.
- Metal Shelving Units – Strong, durable, and resistant to warping, making them ideal for garages with higher humidity.
- Wire Shelving – Lightweight and allows air circulation but may not support heavier items like power tools.
- Plastic Shelving – A moisture-resistant option, but not as strong as wood or metal for storing heavy items.
If you’re storing paint cans, chemicals, or tools, opt for heavy-duty metal or reinforced wood shelving to handle the extra weight.


How Much Weight Can DIY Garage Shelving Hold?
The weight capacity of your shelving depends on materials, mounting method, and shelf depth. Overloading shelves can lead to warping, sagging, or complete failure, so it’s important to build with weight limits in mind.
General Weight Capacity Guidelines:
✔ Wooden shelves with 2×4 supports – Can hold 100-250 lbs per shelf if properly reinforced.
✔ Heavy-duty metal shelving – Supports 300-600 lbs per shelf, ideal for tool storage.
✔ Wall-mounted brackets – Depend on stud placement but typically hold 50-150 lbs per shelf.
For maximum support, anchor shelves to wall studs rather than just drywall, and space brackets or support beams every 16-24 inches to prevent sagging.
What’s the Best Layout for Garage Shelving?
Planning your shelving layout ensures efficient use of space while keeping your garage organized. The right setup depends on what you’re storing and how often you need access to it.
Smart Shelving Layout Ideas:
✔ Ceiling-Height Shelves – Perfect for storing seasonal items and rarely used tools without taking up valuable floor space.
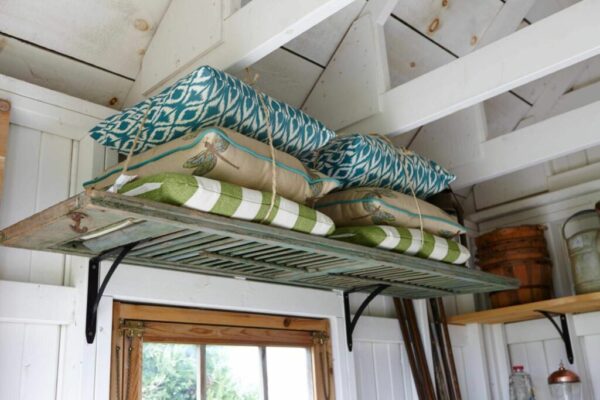
✔ Wall-Mounted Floating Shelves – Great for keeping bicycles, bins, and small items off the floor.
✔ Corner Shelving – Utilizes dead space in garage corners for more storage without interfering with car parking.
✔ Adjustable Shelving Systems – Allows you to modify shelf height as storage needs change.
By designing shelving with your specific storage needs in mind, you can maximize space while keeping everything easily accessible.
MATERIALS NEEDED:
- Lumber (2x4s are commonly used for the frame and plywood for the shelf top)
- Screws (wood screws and wall anchors)
- Stud finder
- Level
- Drill
- Measuring tape
- Saw (if you need to cut your lumber to size)
- Ladder
STEPS TO CREATE YOUR HIGH GARAGE WALL SHELF:
- Planning & Measuring:
- Decide on the length, depth, and height of your shelf.
- Use a stud finder to locate the studs in your wall, as you’ll want to anchor your shelf to these for added security and strength.
- Cutting the Lumber:
- Cut your 2x4s to the desired length for the frame.
- Cut the plywood to fit atop the frame as the shelf’s surface.
- Building the Frame:
- Construct a rectangular frame using the 2x4s. Secure the corners with screws.
- Install additional 2x4s in the middle of the frame for added support, especially if your shelf is long.
- Mounting the Frame:
- With the help of a ladder, hold the frame against the wall at your desired height.
- Ensure the frame is level and then mark the wall where you’ll be drilling.
- Pre-drill holes into the studs and then secure the frame to the wall using screws.
- Attaching the Shelf Surface:
- Place the cut plywood on top of the frame, ensuring it fits snugly.
- Secure the plywood to the frame using screws.
- Safety Checks:
- Give the shelf a gentle tug to make sure it’s securely attached to the wall.
- Avoid placing overly heavy items on the shelf to ensure safety and the shelf’s longevity.
ADDITIONAL TIPS:
- Brackets: Consider adding metal brackets underneath the shelf for additional support if you intend to store heavier items.
- Paint or Stain: To give your shelf a polished look, consider painting or staining it to match your garage’s interior.
- Labeling: If you’re using multiple shelves or bins on your shelf, labels can help keep things organized.
A high wall shelf in your garage can be a game-changer when it comes to storage and organization. Not only does it maximize the vertical space, but it also keeps items out of the way and easily accessible. With a few basic tools and materials, you can have a functional and sturdy shelf ready in no time. Say goodbye to garage clutter and hello to a well-organized space!
As an Amazon Associate we earn from qualifying purchases through some links in our articles.