Step 1: Gather Your Materials
Before diving into this fun and functional project, let’s make sure you have all the materials you’ll need to create your wooden bungee ball storage box. This design allows you to store balls vertically on your garage wall using bungee cords to hold them in place, while making it easy to grab and store balls with just one hand.

Why a Ball Storage Rack is a Must-Have for Your Garage
A ball storage rack or garage ball holder is an essential piece of organization for anyone with sports equipment. Keeping balls scattered around your garage not only creates clutter but can also lead to lost or damaged gear. With a dedicated garage ball holder, you can easily store basketballs, soccer balls, and more in one convenient location, freeing up floor space and making your garage look much more organized.
The vertical design of a ball storage rack helps maximize space in your garage by using the height of the wall, ensuring your sports balls are easily accessible but neatly stored away. Bungee cords or flexible straps allow for quick access to the balls, so you don’t need to struggle with complicated storage bins or lids. This simple yet effective solution keeps everything in order, making it easy to grab the ball you need and get out to play.
If you’re working on transforming your garage into a functional and clutter-free space, adding a ball storage rack alongside other organizational features, like a sliding frame for totes, can make a huge difference in keeping things tidy.
Investing time in building or installing a garage ball holder is a smart way to organize your space while ensuring all your gear stays in great condition, ready for game day.

Here’s what you’ll need:
- Plywood (for the frame and backboard)
- 2×4 boards (for added support and frame structure)
- Bungee cords or elastic straps
- Screws and wood glue
- Drill and wood screws
- Sandpaper
- Measuring tape
- Wall-mounting hardware (such as wall anchors or mounting brackets)
Once you’ve gathered all the materials, you’re ready to start building the frame!
Step 2: Build the Frame
The frame of your bungee ball storage box will be the foundation for holding the balls in place, allowing the bungee cords to secure them vertically. To begin, you’ll need to cut your plywood and 2x4s to the appropriate dimensions based on the size you want for your storage box. A typical size could be around 4 feet tall and 2 feet wide, but feel free to adjust to fit your garage space and ball collection.
- Cut the Plywood and 2x4s:
- Cut two pieces of plywood to serve as the vertical sides of the frame (around 4 feet tall).
- Cut the bottom and top frame pieces out of the 2x4s to match the width of the plywood (about 2 feet wide).
- Cut another piece of plywood to be the back of the box, which will be attached to the garage wall.
- Assemble the Frame:
- Lay out the plywood and 2x4s to create the box shape. Use wood glue and screws to attach the 2x4s to the plywood, forming a sturdy rectangular frame.
- Once assembled, attach the back plywood piece to the frame, making sure it’s securely fastened, as this will hold the structure when mounted on the wall.
Now that the frame is built, it’s time to install the bungee cords that will hold the balls in place.

Step 3: Install the Bungee Cords
Now that your wooden frame is assembled, it’s time to install the bungee cords that will hold your balls securely in place, while still allowing easy access. These cords will stretch vertically along the front of the frame, acting as flexible barriers to keep the balls from rolling out but giving you enough give to pull them out when needed.
- Measure and Mark:
- Measure equal distances along the vertical edges of the frame where the bungee cords will be placed. Mark the spots where you’ll secure the bungee cords—typically, leaving about 6-8 inches between each cord works well for holding balls of various sizes.
- Install the Hooks:
- Using a drill, install hooks or eye screws at the top and bottom of the frame where your bungee cords will be secured. Attach the hooks to the marked spots, ensuring they are firmly anchored to the wood.
- Attach the Bungee Cords:
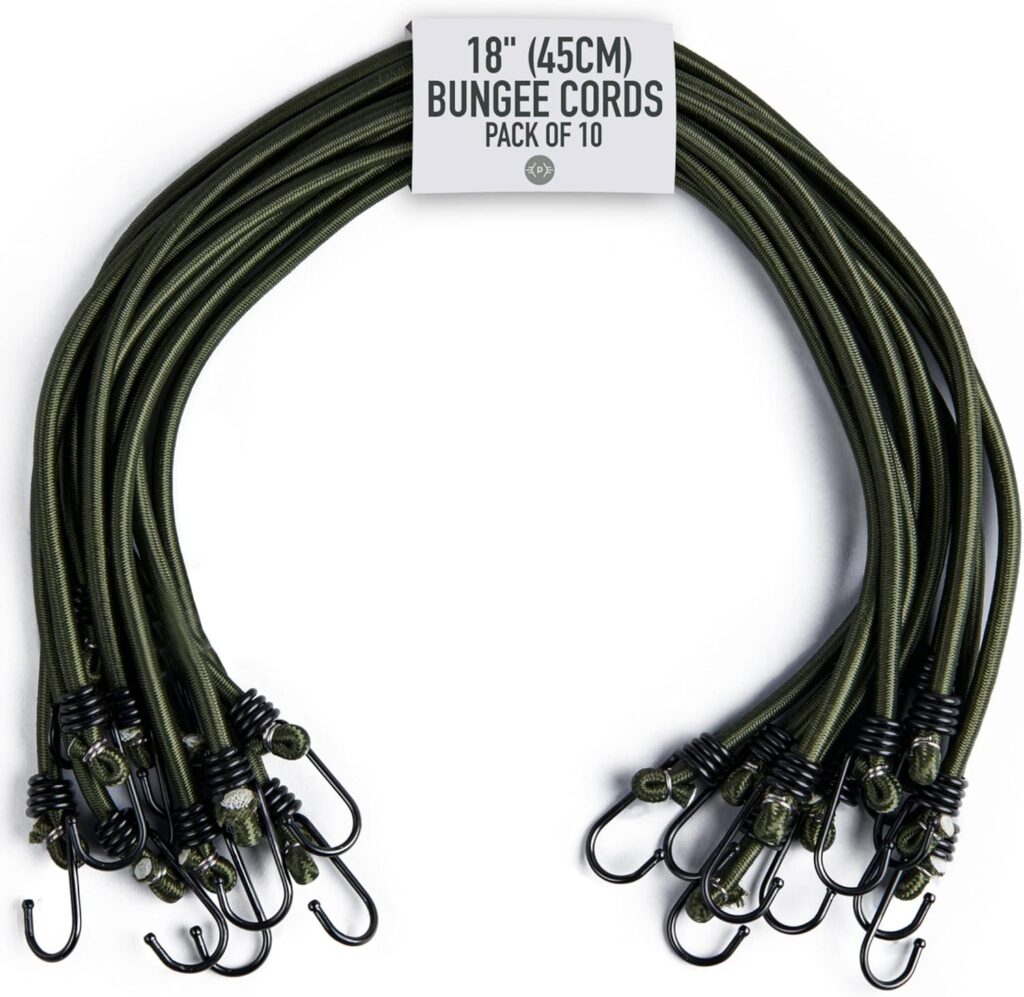
- Hook your Pluvios 18″ Bungee Cords to the top and bottom hooks, creating a vertical line of elastic. Make sure the cords are taut enough to hold the balls in place but still flexible for easy access. You can adjust the tension based on the size of the balls you plan to store.
The bungee cords will create a grid-like structure that holds balls securely but allows you to remove or store them with ease. If you’re organizing other items in your garage, consider adding this storage to complement other projects, like a DIY garage storage bin for long-handled tools to maximize efficiency.
Step 4: Mount the Storage Box on the Wall
With your wooden frame and bungee cords installed, it’s time to mount your storage box on the garage wall. This will free up floor space and keep your balls neatly stored while still being easily accessible.
- Choose the Right Location:
- Find a spot on your garage wall where the box can be mounted at a convenient height for easy access to the balls. Make sure it’s clear of other garage items and allows you to fully utilize the vertical storage.
- Install Wall Anchors or Brackets:
- Depending on the weight of your storage box, you’ll need to secure it properly using heavy-duty wall anchors or mounting brackets. Drill pilot holes into the wall studs and insert your anchors to ensure the box can hold the weight of the balls and the frame.
- Mount the Box:
- Lift the storage box into place and align it with the wall anchors or mounting hardware. Secure the box with screws, ensuring it’s level and firmly attached to the wall.
Now that your bungee ball storage box is mounted, you can easily store basketballs, soccer balls, or any other sports equipment in an organized and accessible way. For additional garage organization ideas, check out projects like building a sliding frame for tote organization to keep your garage clutter-free.
Step 5: Finishing Touches and Organizing Your Balls
With your bungee ball storage box securely mounted on the wall, it’s time to add the finishing touches and get organized. You can make a few small adjustments to ensure your storage box looks and functions perfectly.
- Test the Bungee Tension:
- Place a few balls into the box and test the bungee cords to ensure they hold the balls securely but still allow for easy access. If the cords are too loose or too tight, adjust them as needed by changing the position of the hooks or using shorter or longer bungee cords.
- Sand and Finish:
- If you want your storage box to have a smooth, polished look, sand down any rough edges of the wood. You can also apply a coat of paint or wood stain to match the rest of your garage’s decor. If you’re unsure whether to stain or paint, check out this guide on stain vs. paint for more insight.
- Organize by Type:
- Once the bungee cords are properly set, start organizing your sports balls by type—basketballs, soccer balls, footballs—whatever you have. This will make it easier to find what you need when it’s game time.
Congratulations! Your DIY bungee ball storage box is now complete. It’s a simple, functional addition to your garage that keeps your space organized and clutter-free. If you’re feeling inspired to take on more projects, consider trying a DIY paint can shaker or building angled board hangers for lawn chair storage to further enhance your garage’s functionality.
As an Amazon Associate we earn from qualifying purchases through some links in our articles.


